Welcome to Lesson 5 of the How to Own Your AI System course.
We’ve laid a solid foundation in the last four lessons. You understand why ownership matters, what the five components are, what your computer needs, and what BrainDrive can do.
Now it’s time to install it.
This will take about 10-15 minutes total, but most of that is downloading and waiting. I’ll walk you through each step.
Ready? Let’s jump in.
Step 1: Download and Install BrainDrive
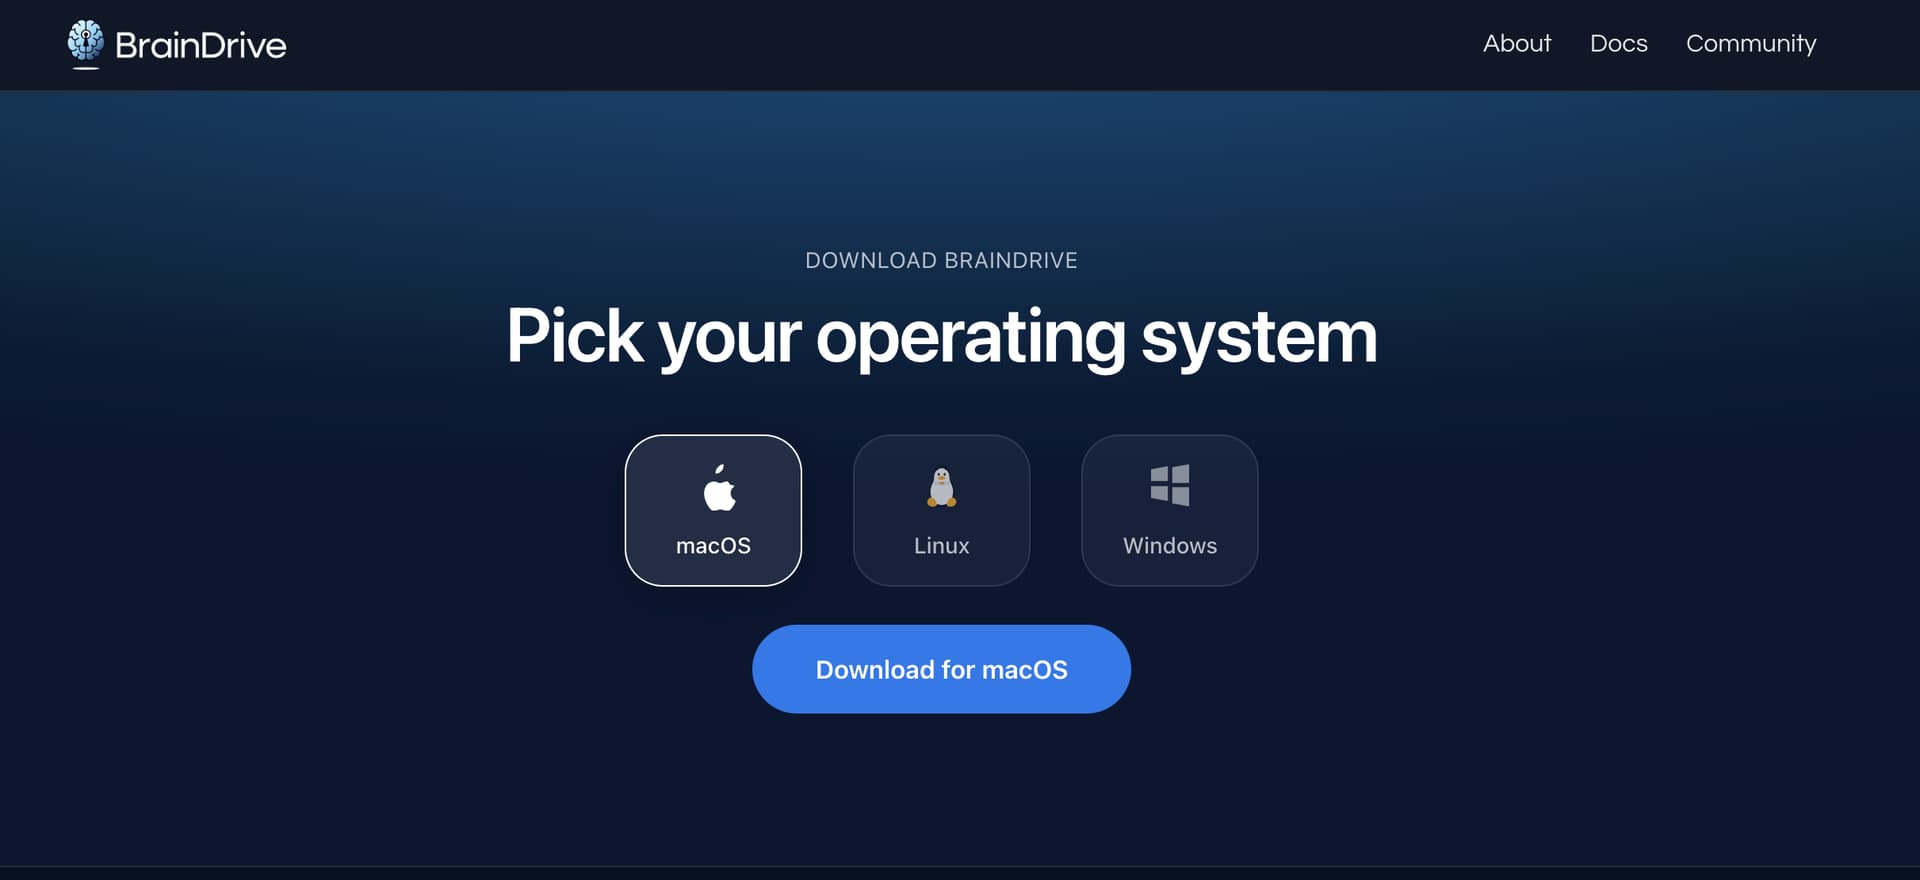
First, head to BrainDrive.ai/install
Choose your installation method:
- For most people: Select your operating system (Windows, Mac, or Linux) and click the download button
- For technical users: Use the CLI installation method
Run the installer:
Click the downloaded file to start the installation. This takes about 10 minutes, so grab a cup of coffee.
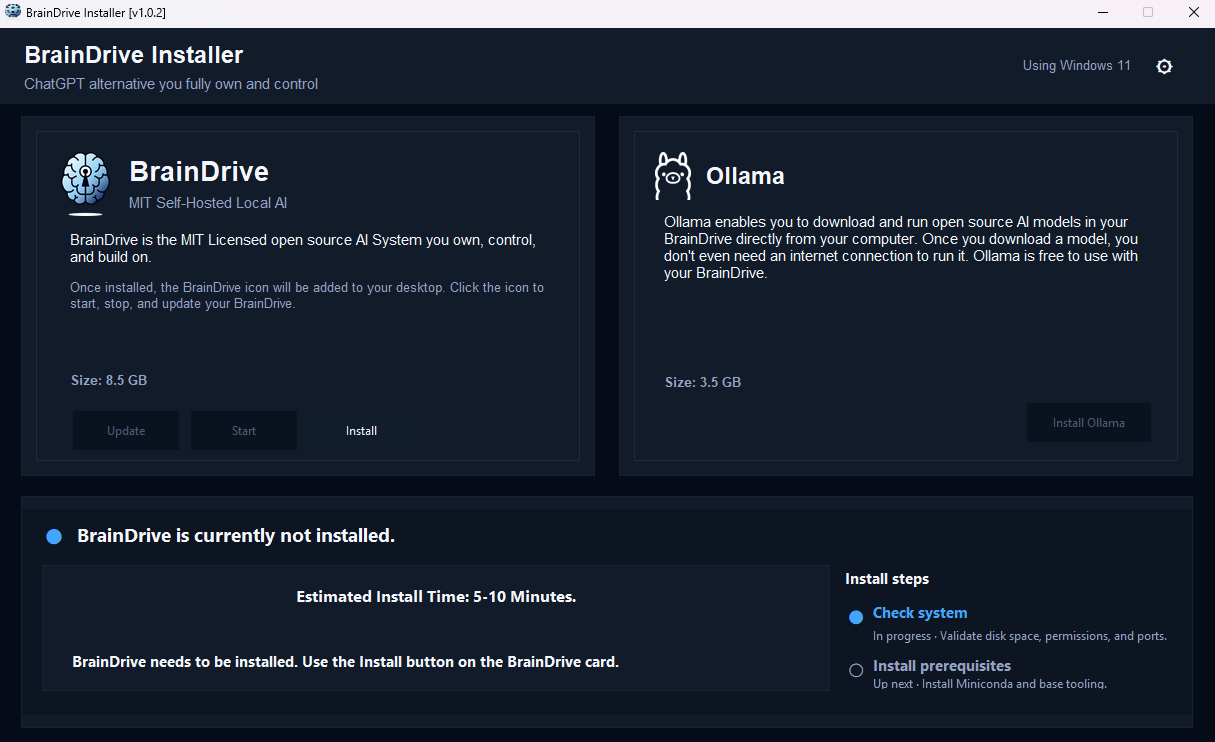
Important: Keep the installer window open. This is what runs BrainDrive - if you close it, BrainDrive stops. You’ll also use this installer to update BrainDrive in the future.
Step 2: Download Ollama (for Local Models)
If you want to run AI models directly on your computer with complete privacy, you need a model runner. BrainDrive uses Ollama by default.
What is Ollama?
Ollama is free, open-source software that makes it easy to download and run AI models on your computer. Just like BrainDrive, once it’s installed, everything runs locally - no internet connection required.
Download Ollama:
- Go to Ollama.com
- Download for your operating system
- Install it
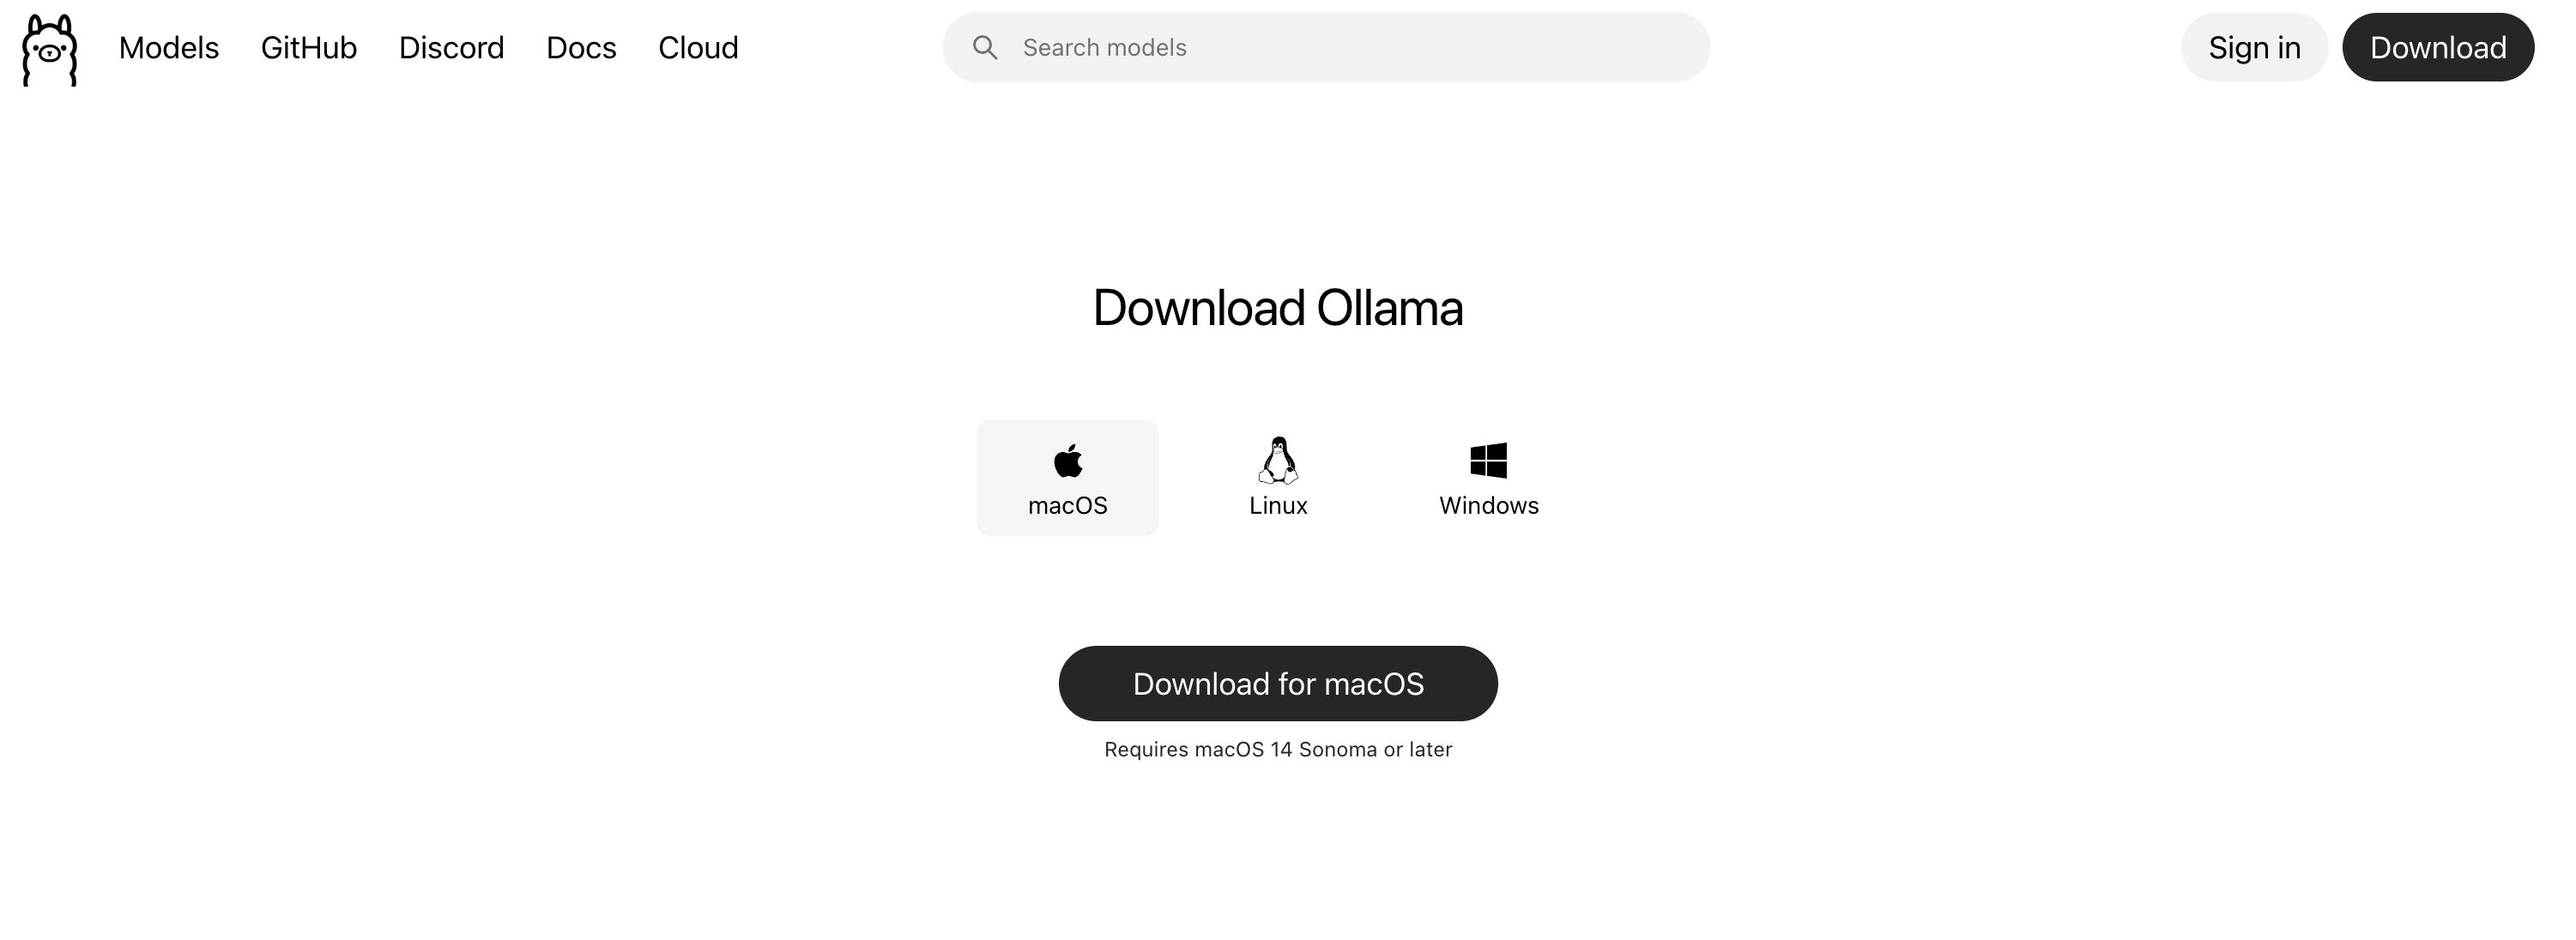
That’s it. Ollama runs in the background, and your BrainDrive will connect to it automatically.
Step 3: Start BrainDrive and Create Your Account
Launch BrainDrive:
Once the installer finishes, click the “Start BrainDrive” button.
This will open BrainDrive in your web browser at localhost:5173
Create your account:
You’ll see a registration page. Fill in your details.
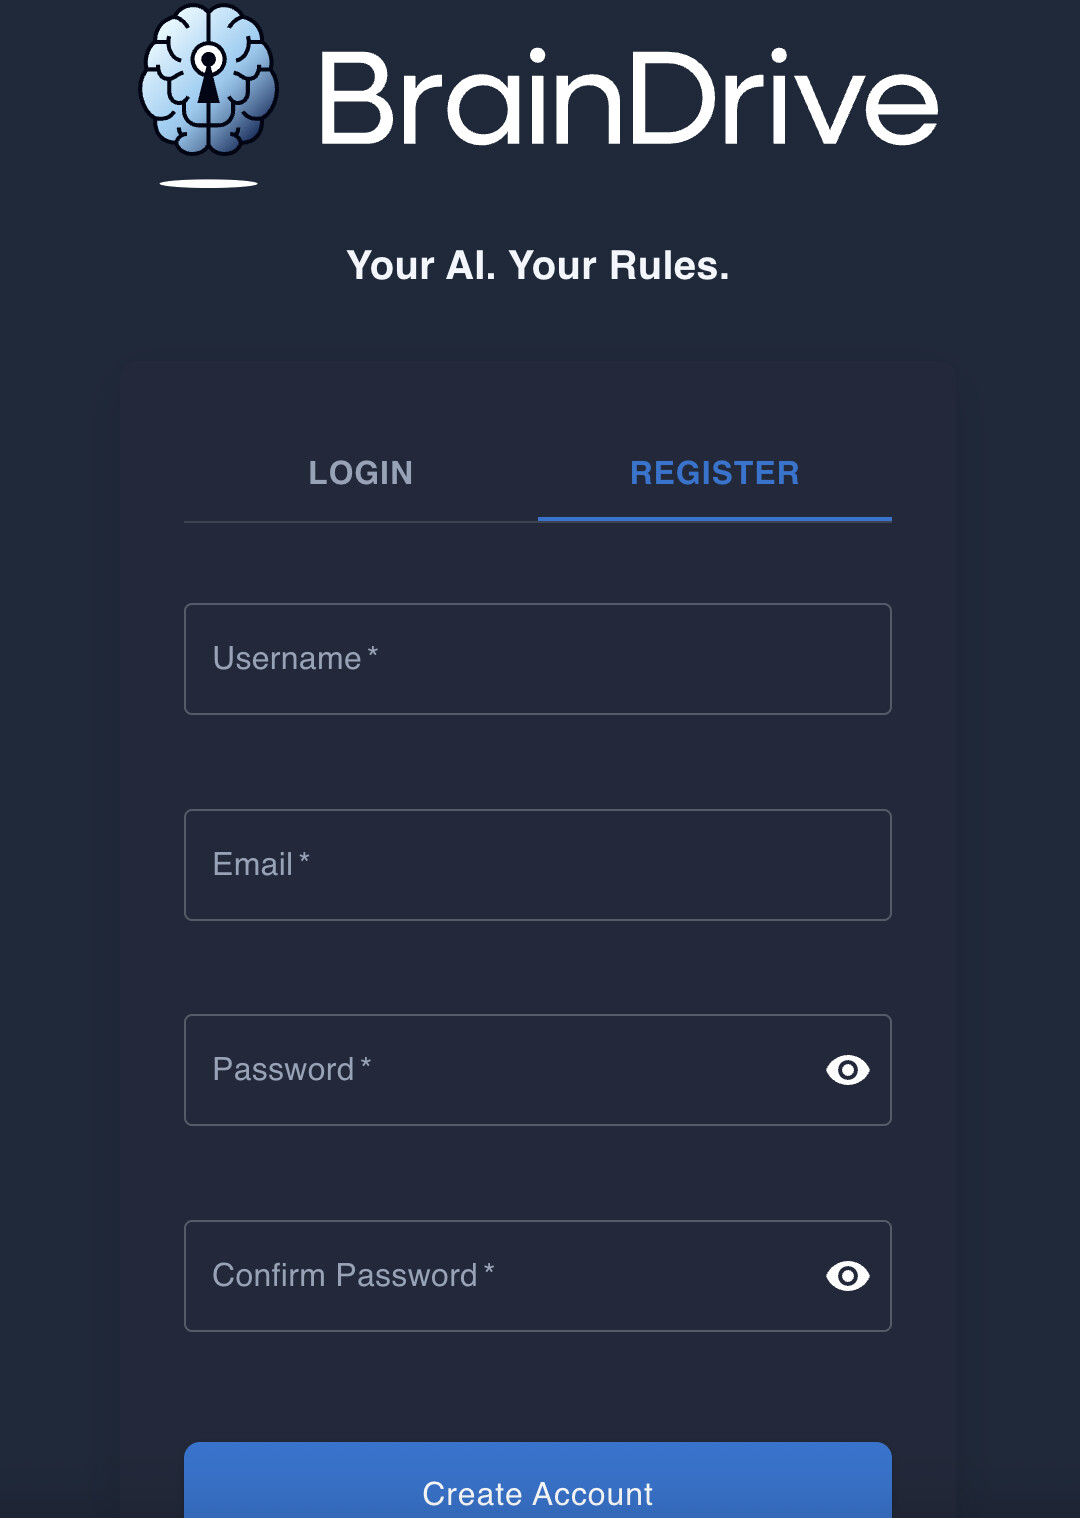
Important privacy note: All the information you enter is stored only on your computer. Nothing is sent to BrainDrive or anyone else. You can even disconnect from the internet right now to verify this -You’ll still be able to register, & BrainDrive will keep working. No internet connection required.
This login exists so you can have multiple users on your BrainDrive if you want (like separate accounts for work and personal use).
Step 4: Add Your First Local AI Model
Now you have BrainDrive and Ollama running. Time to download your first AI model.
Choosing your first model:
As we discussed in Lesson 3, your computer’s power determines which models you can run. Start small and work your way up.
We recommend starting with Qwen 1B - a small, fast model that runs on almost any computer.
How to add it:
- Go to Settings & Click “Install Model”
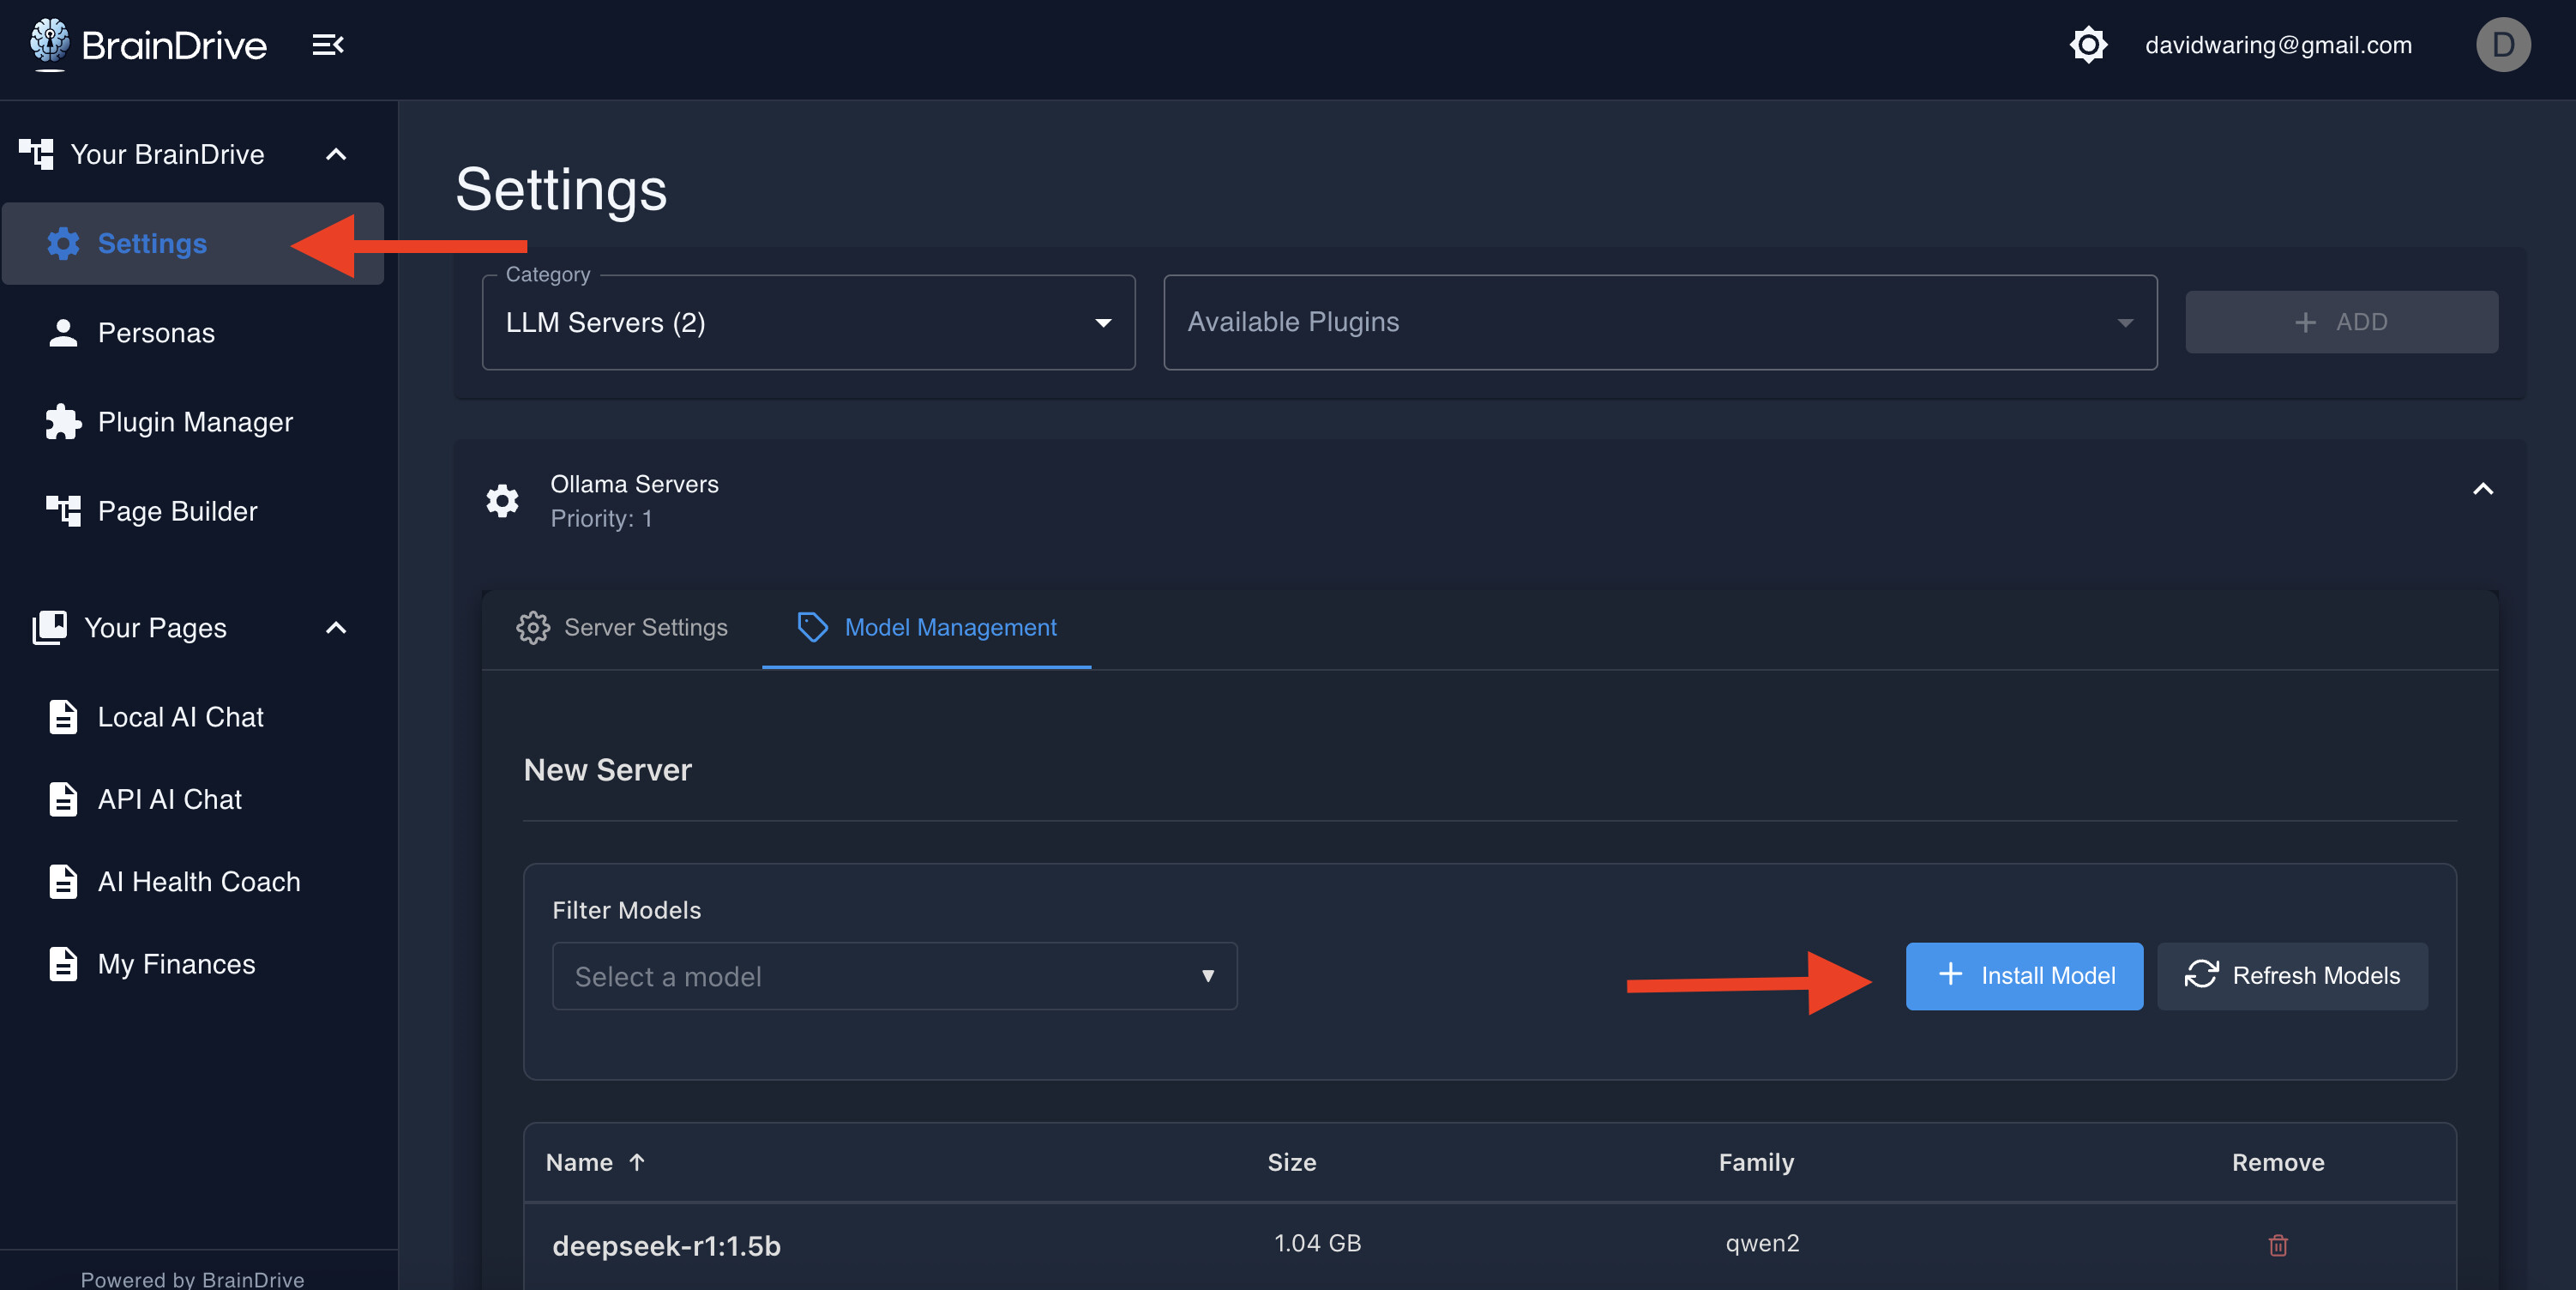
- Paste the model name in you want to use.
We recommend starting with a small model that will run on most computers and working your way up from there to see what you computer can handle.
For this example we’ll choose qwen3:1.7b which you can also use.

Alternatively you can go to the models page on Ollama and select from the hundreds of options available there.
The download will take a few minutes depending on your internet speed. You’ll see a progress indicator.
- Test it out
Once the download completes, head to your AI Chat page. You’ll see “qwen:1.7b” in the model dropdown.
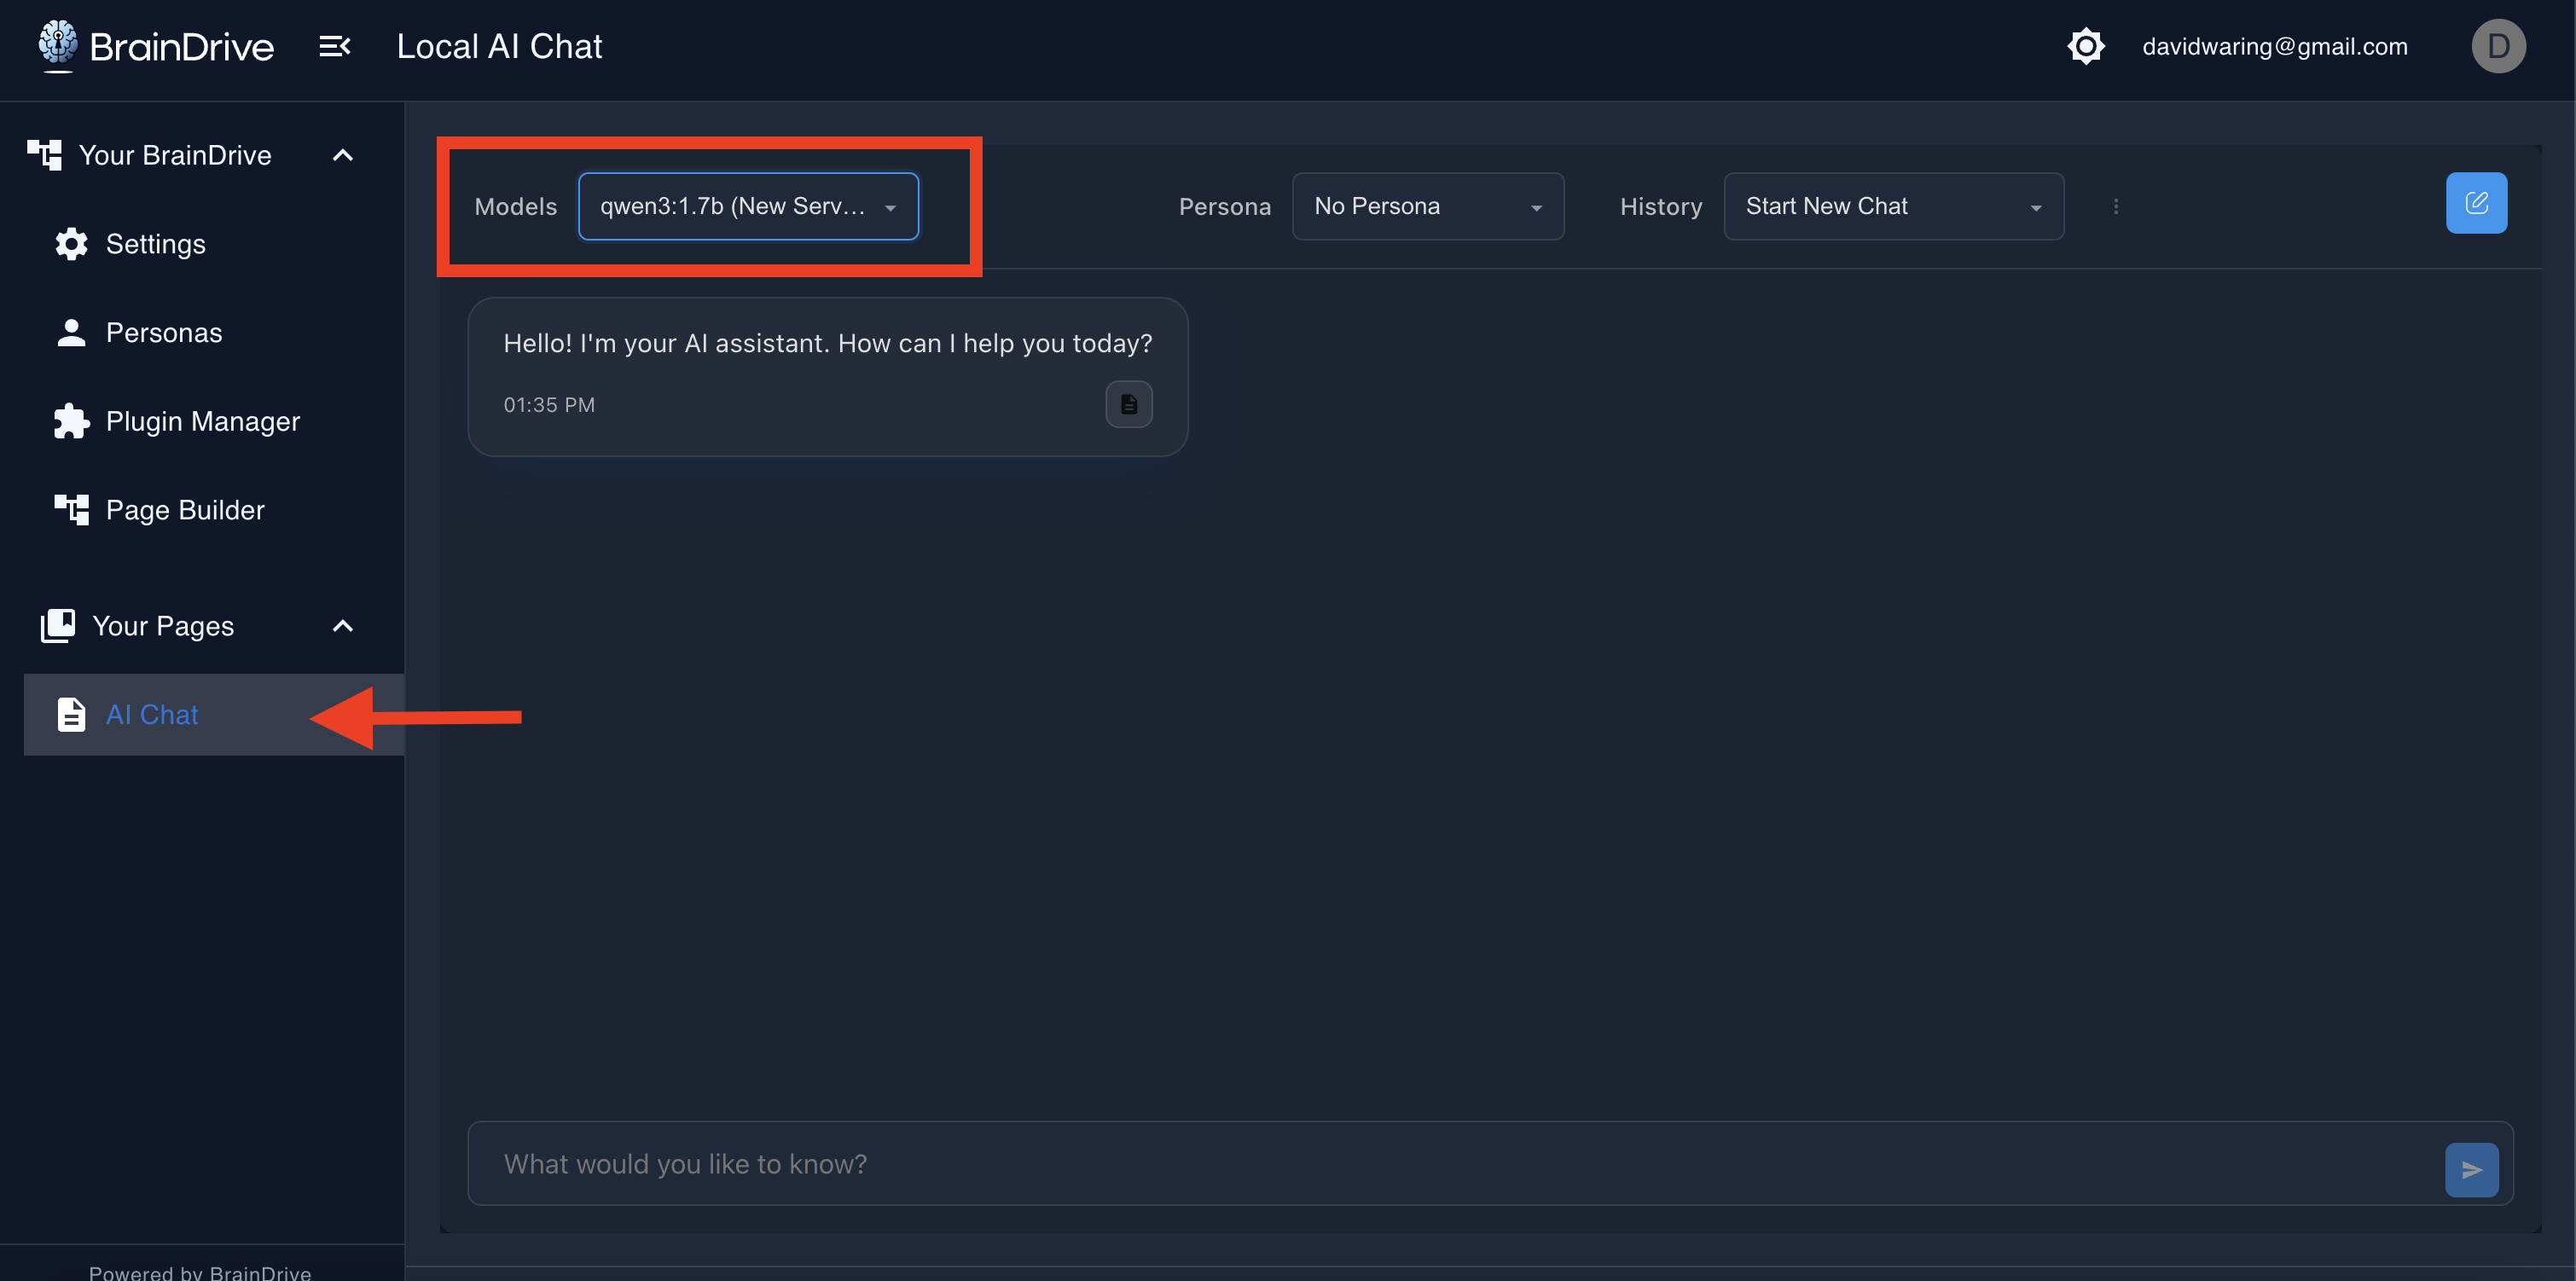
Select it and ask: “Tell me a joke”
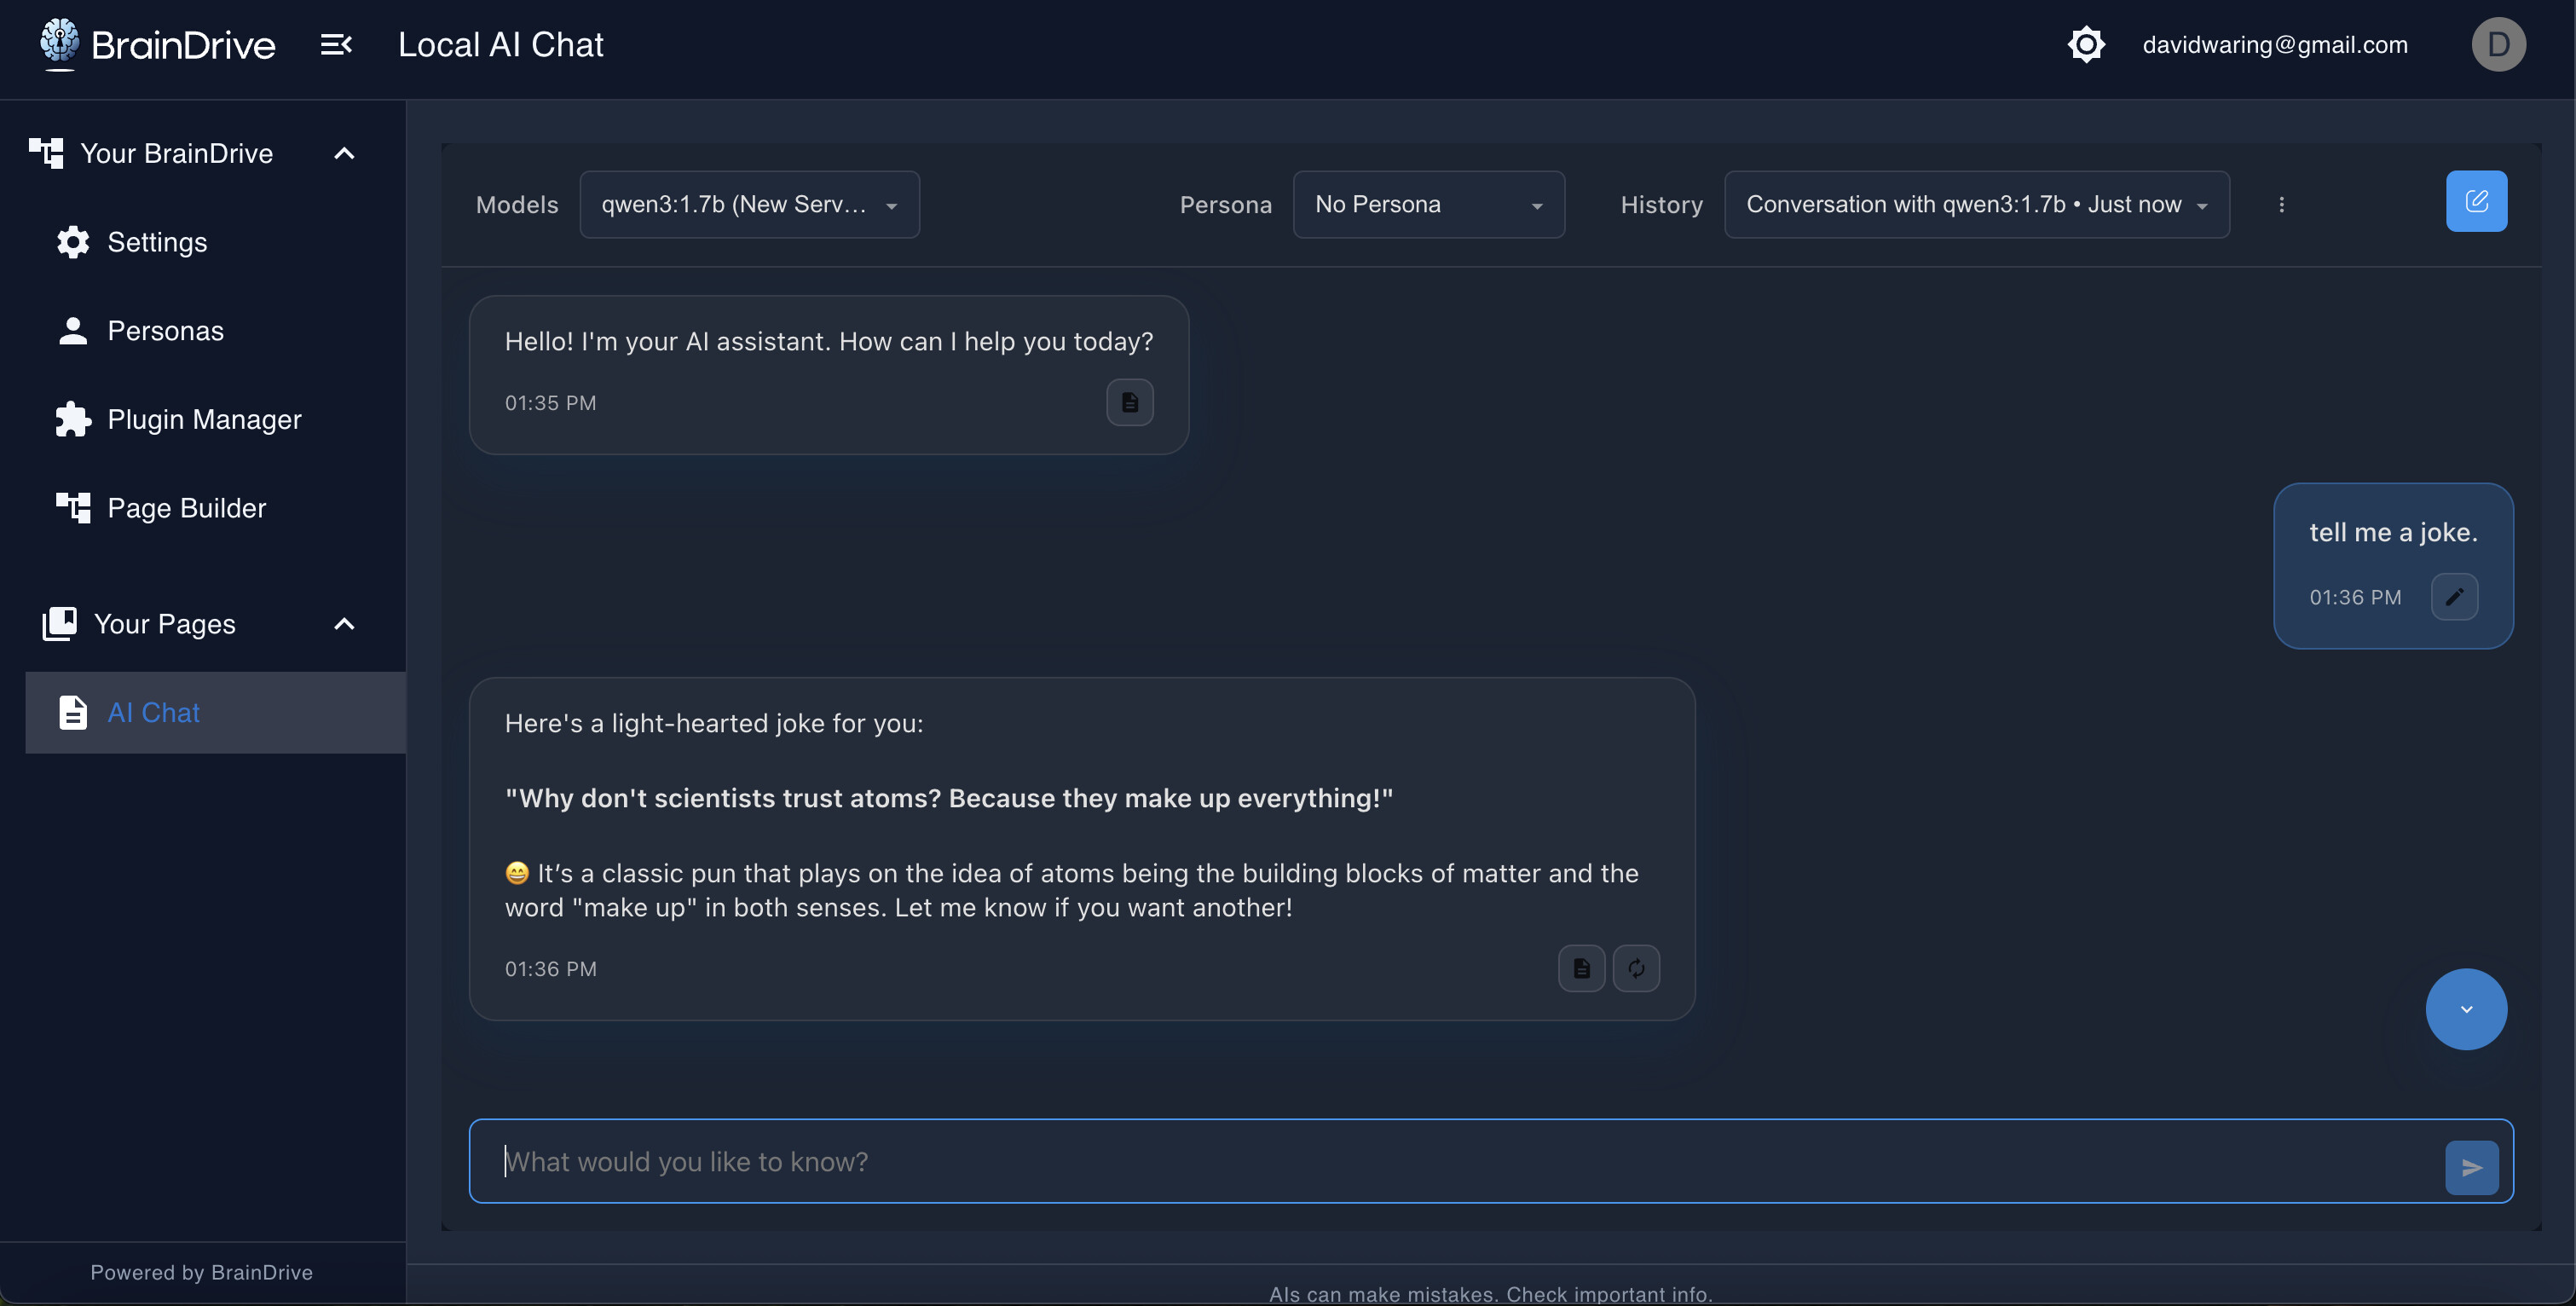
Note: The first time you use a model, it takes a moment to load into memory. After that, responses are much faster.
Congratulations! You just had your first conversation your own AI system!
And you now own all 5 components of that system:
- Interface - BrainDrive running on your computer

- Models - Run any publicly available open source model locally on your computer.
- Storage - Conversations saved in your local database
- Hosting - Running on your machine
- Connections - Ollama Connection Completed
This is yours. Not rented. Not subscribed. Owned.
And this is just the beginning. Ready for more? I’ll see you in the next lesson.