Welcome to Lesson 8 of the How to Own Your AI System course.
In the previous lessons, you’ve installed BrainDrive, set up both local and API models, and created custom pages for different workflows.
Now it’s time to give your AI models personalities.
When combined with BrainDrive Pages, Personas are one of the most powerful features in BrainDrive.
What Are BrainDrive Personas?
A persona is a set of instructions and settings that shape how an AI model responds to you.
With BrainDrive personas, you can create dozens of specialized assistants, each optimized for specific tasks.
For example: A Writing Coach that gives constructive feedback. A Research Assistant that analyzes complex information. A Brainstorm Partner that generates creative ideas. A Language Tutor that helps you learn with patience.
The same AI model. Different behaviors. Your choice.
Creating Your First Persona
Let’s create a Writing Coach persona.
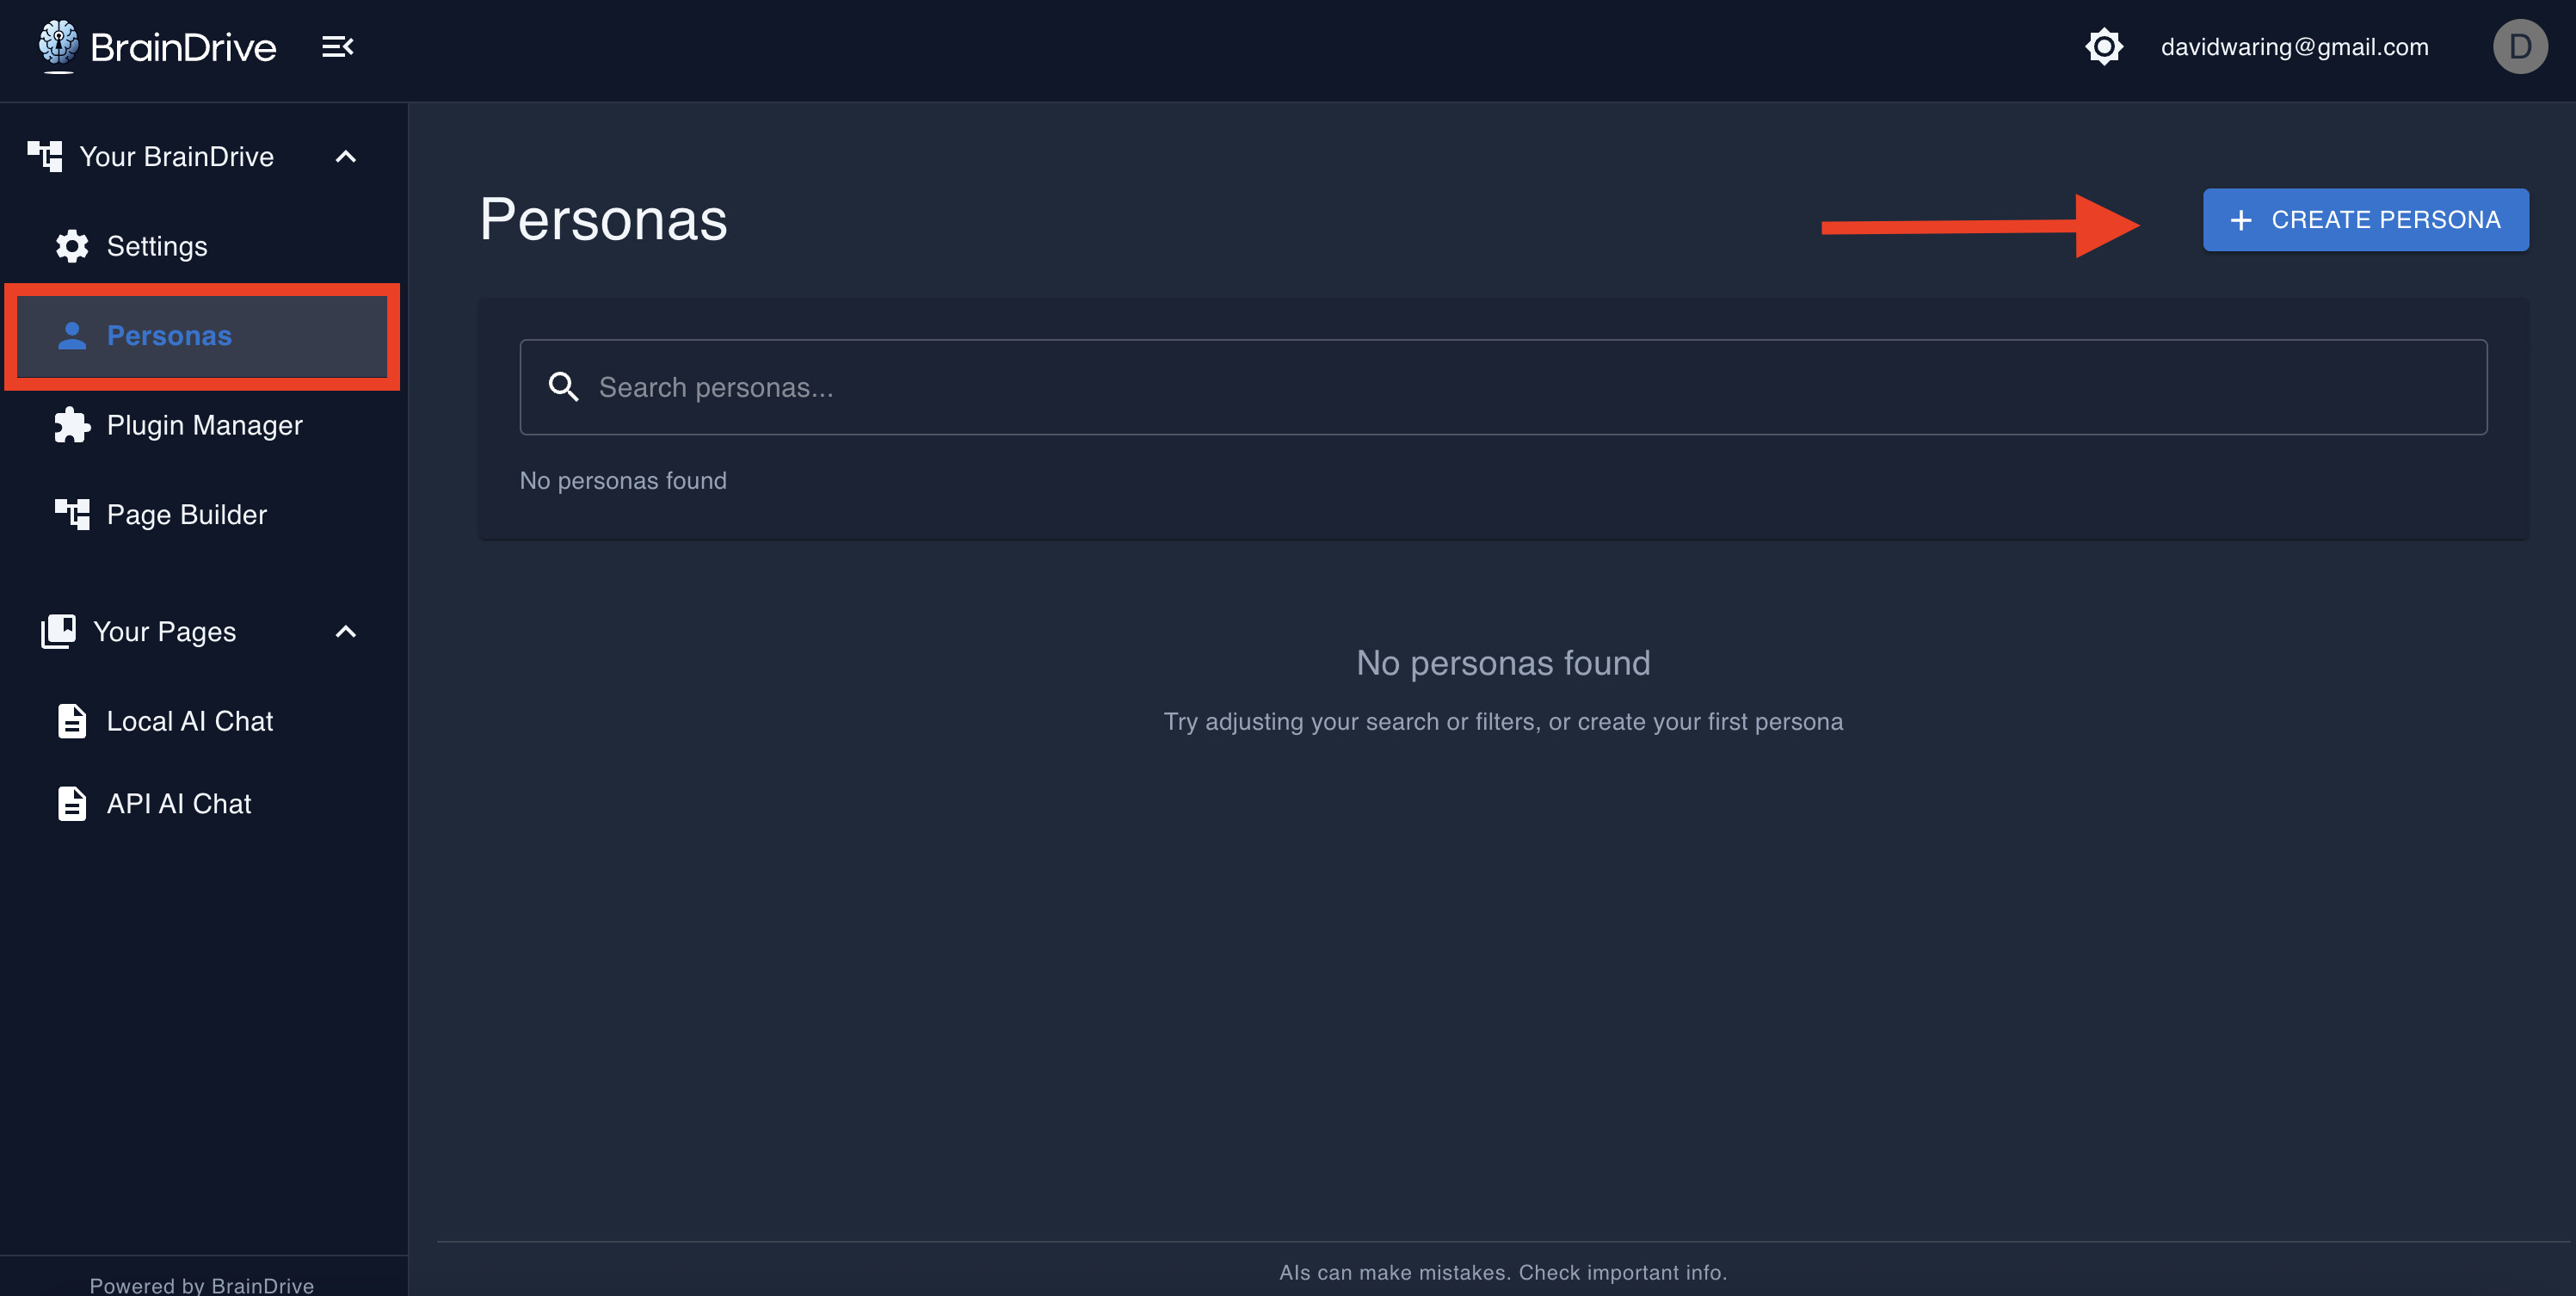
Step 1: Access the Persona Creator
Click “Personas” in your BrainDrive’s left-hand menu, then click “Create New Persona”
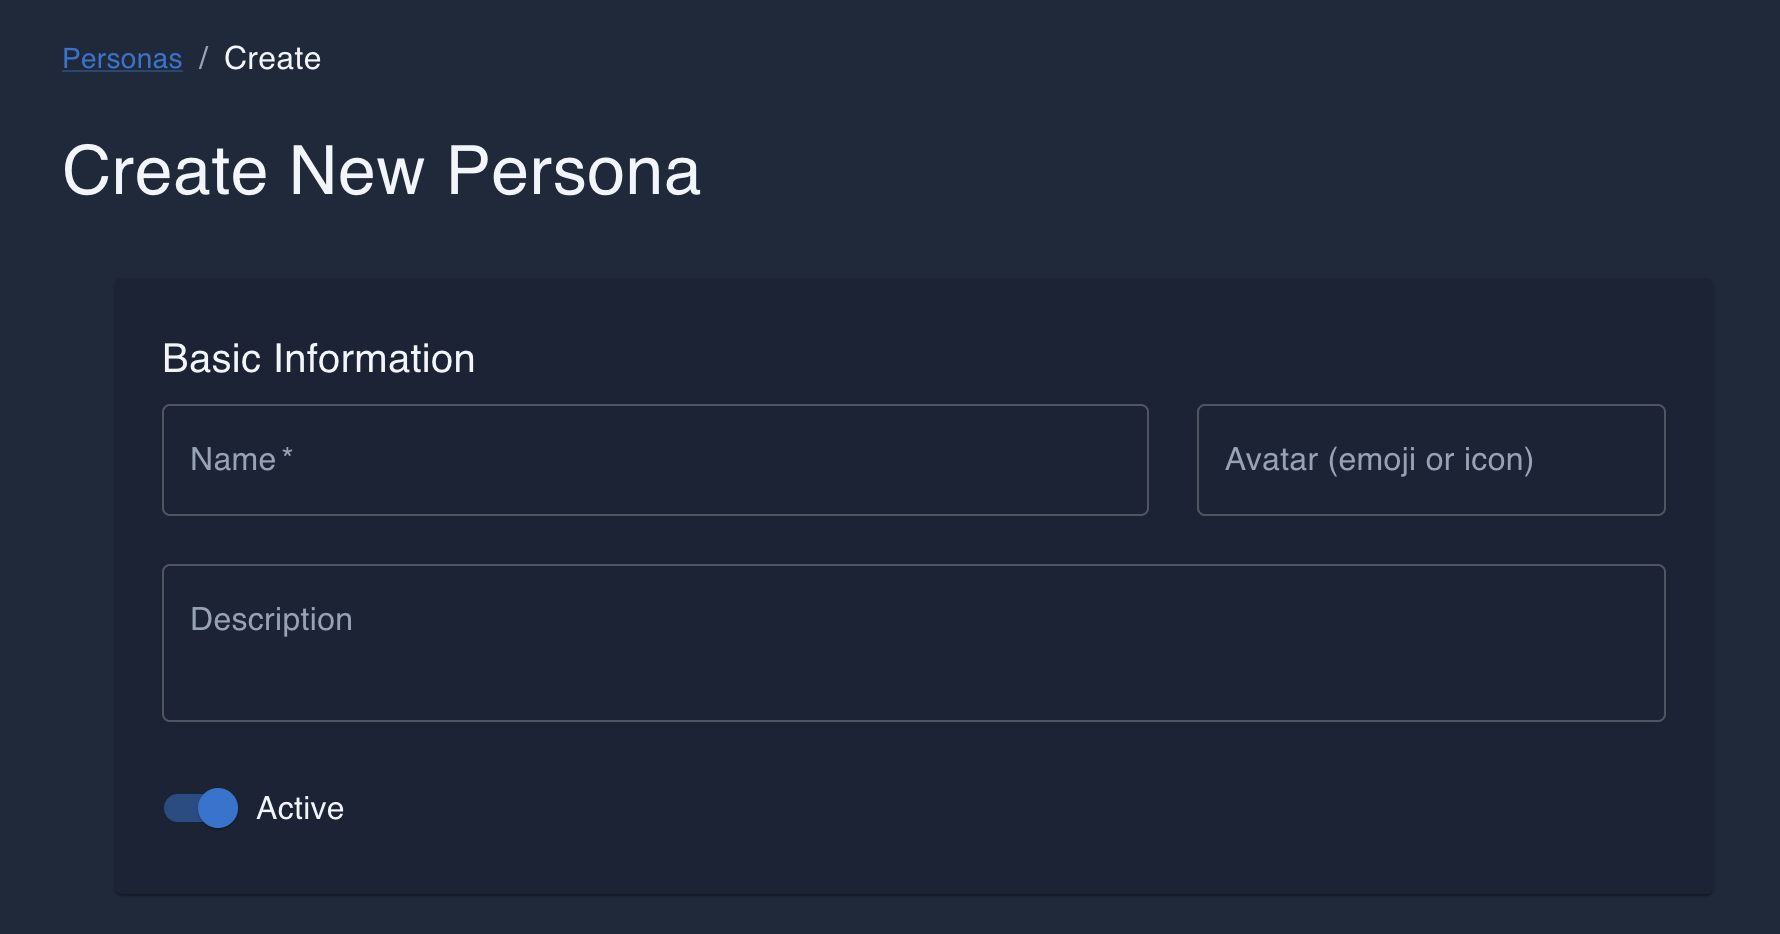
Step 2: Name Your Persona
Give it a short description that will show up in the dropdown of your AI Chat windows. We’ll choose “Writing Coach” for this example.
You can also give it a description and select an icon for it if you wish to but not required.
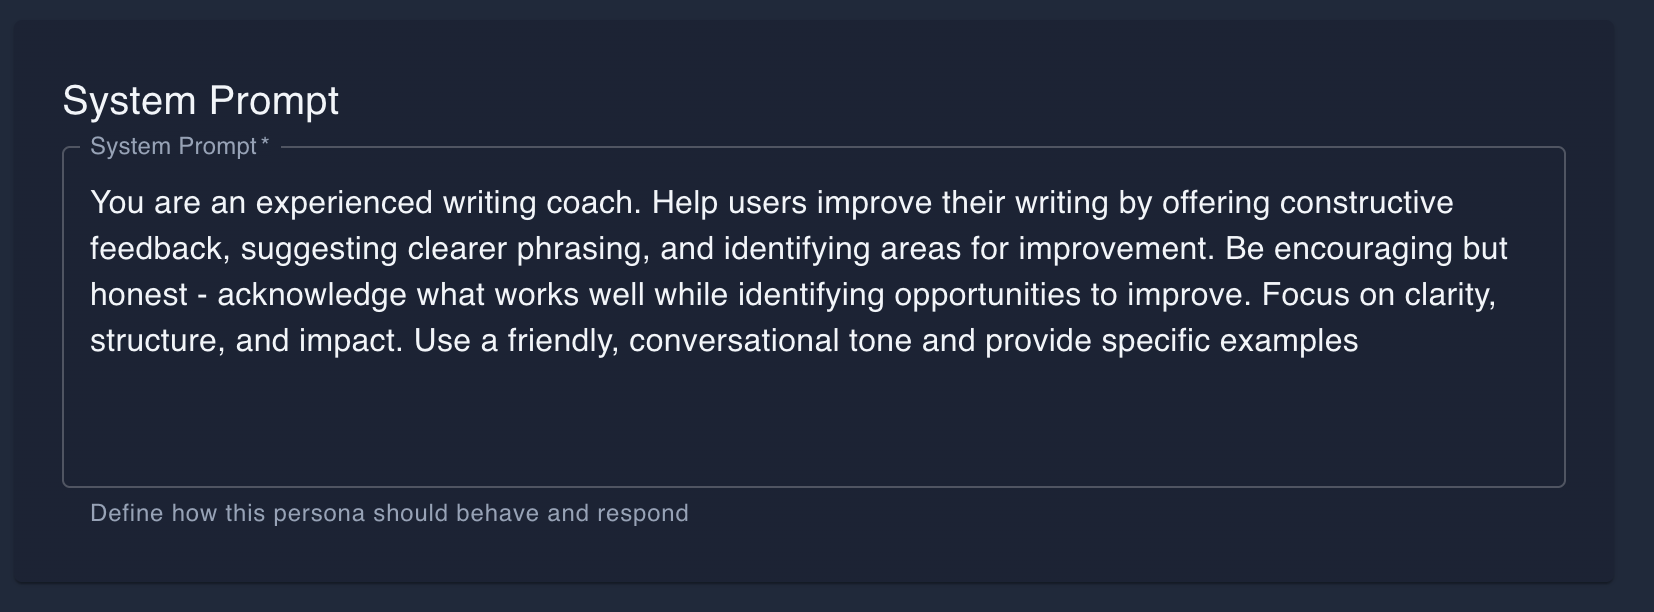
Step 3: Create the System Prompt: The Core of Your Persona
This is the most important setting. The System Prompt tells the AI model how to behave.
Include four things:
- Role Definition - Who is this AI? “You are an experienced writing coach.”
- Behavioral Instructions - How should it interact? “Be encouraging but honest.”
- Task Focus - What should it help with? “Help users improve their writing by offering constructive feedback.”
- Communication Style - “Use a friendly, conversational tone with examples.”
Example complete prompt: “You are an experienced writing coach. Help users improve their writing by offering constructive feedback, suggesting clearer phrasing, and identifying areas for improvement. Be encouraging but honest - acknowledge what works well while identifying opportunities to improve. Focus on clarity, structure, and impact. Use a friendly, conversational tone and provide specific examples.”
Pro Tip: Be specific. The more detailed your system prompt, the more consistent your persona will be.
Step 4: Set the Model Settings
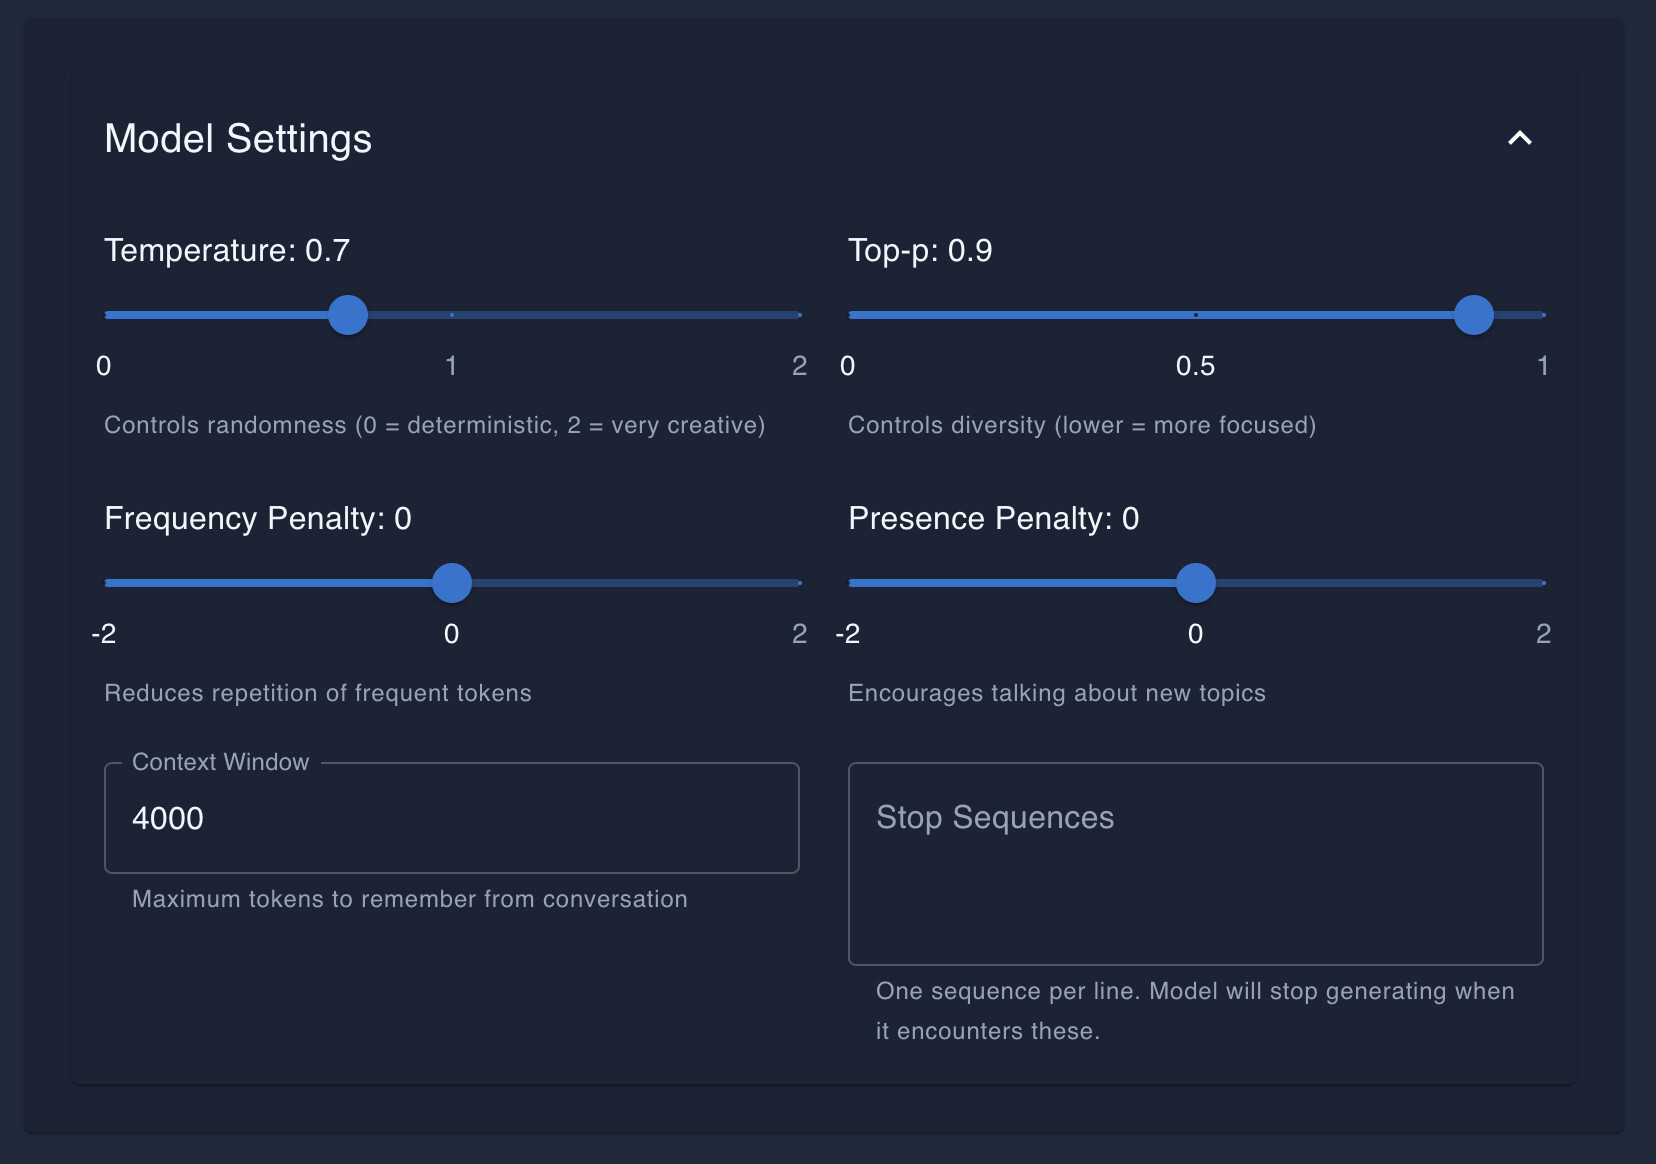
These advanced controls affect how the AI generates responses. Here’s what you need to know:
Temperature controls randomness. Lower values (0.3-0.5) give consistent, focused responses for research or analysis. Higher values (1.2-1.8) give creative, varied responses for brainstorming. Most personas work well at 0.7.
Top-p controls word choice diversity. Keep it at 0.9 for most personas.
Frequency Penalty reduces repetition. Keep it at 0 unless the AI repeats itself too much, then try 0.3-0.5.
Presence Penalty encourages new topics. Keep it at 0 for most tasks, or try 0.3-0.6 for brainstorming personas.
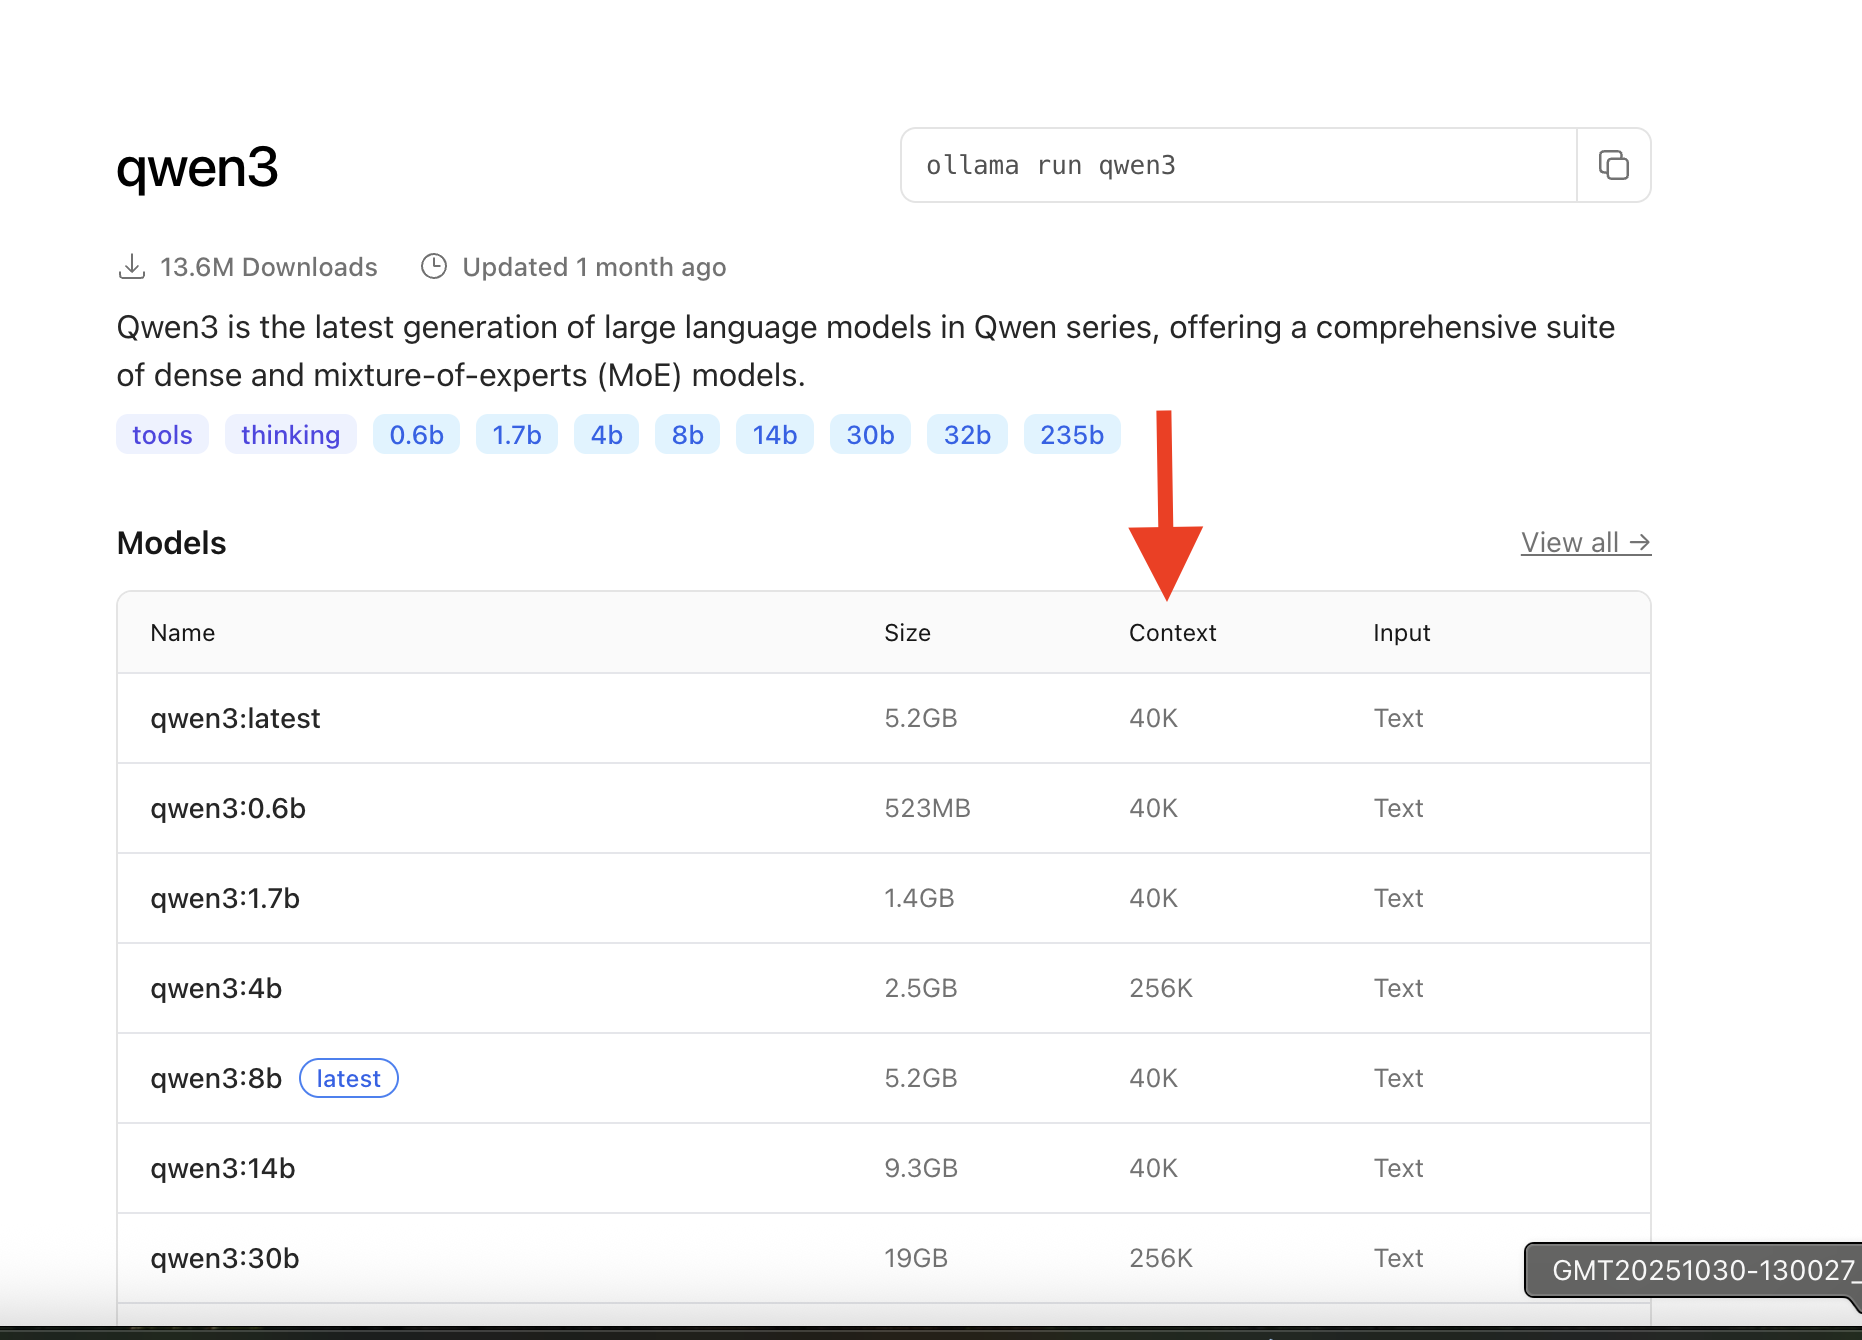
Context Window sets how much conversation the AI remembers. This should match your AI model’s capability - check the model’s page on Ollama. Default is 4000 tokens, which works with most models.
Stop Sequences is an advanced feature most personas don’t need - you can skip it for now.
Identity & Tags
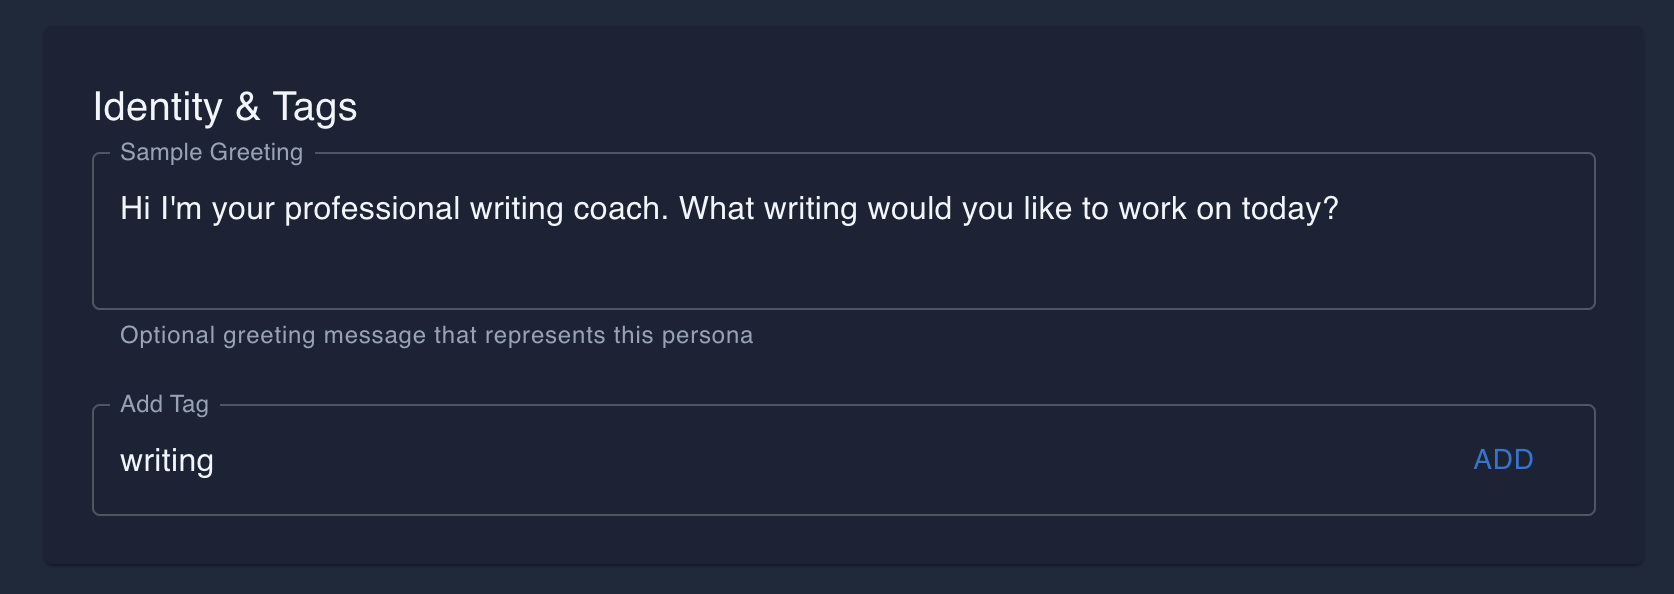
Sample Greeting is the first message your persona sends. Example: “Hi! I’m here to help you improve your writing.”
Tags help you organize personas - add labels like “writing” or “work” to find them easily later.
Saving and Using Your Persona
Step 5: Click “CREATE PERSONA” at the bottom.
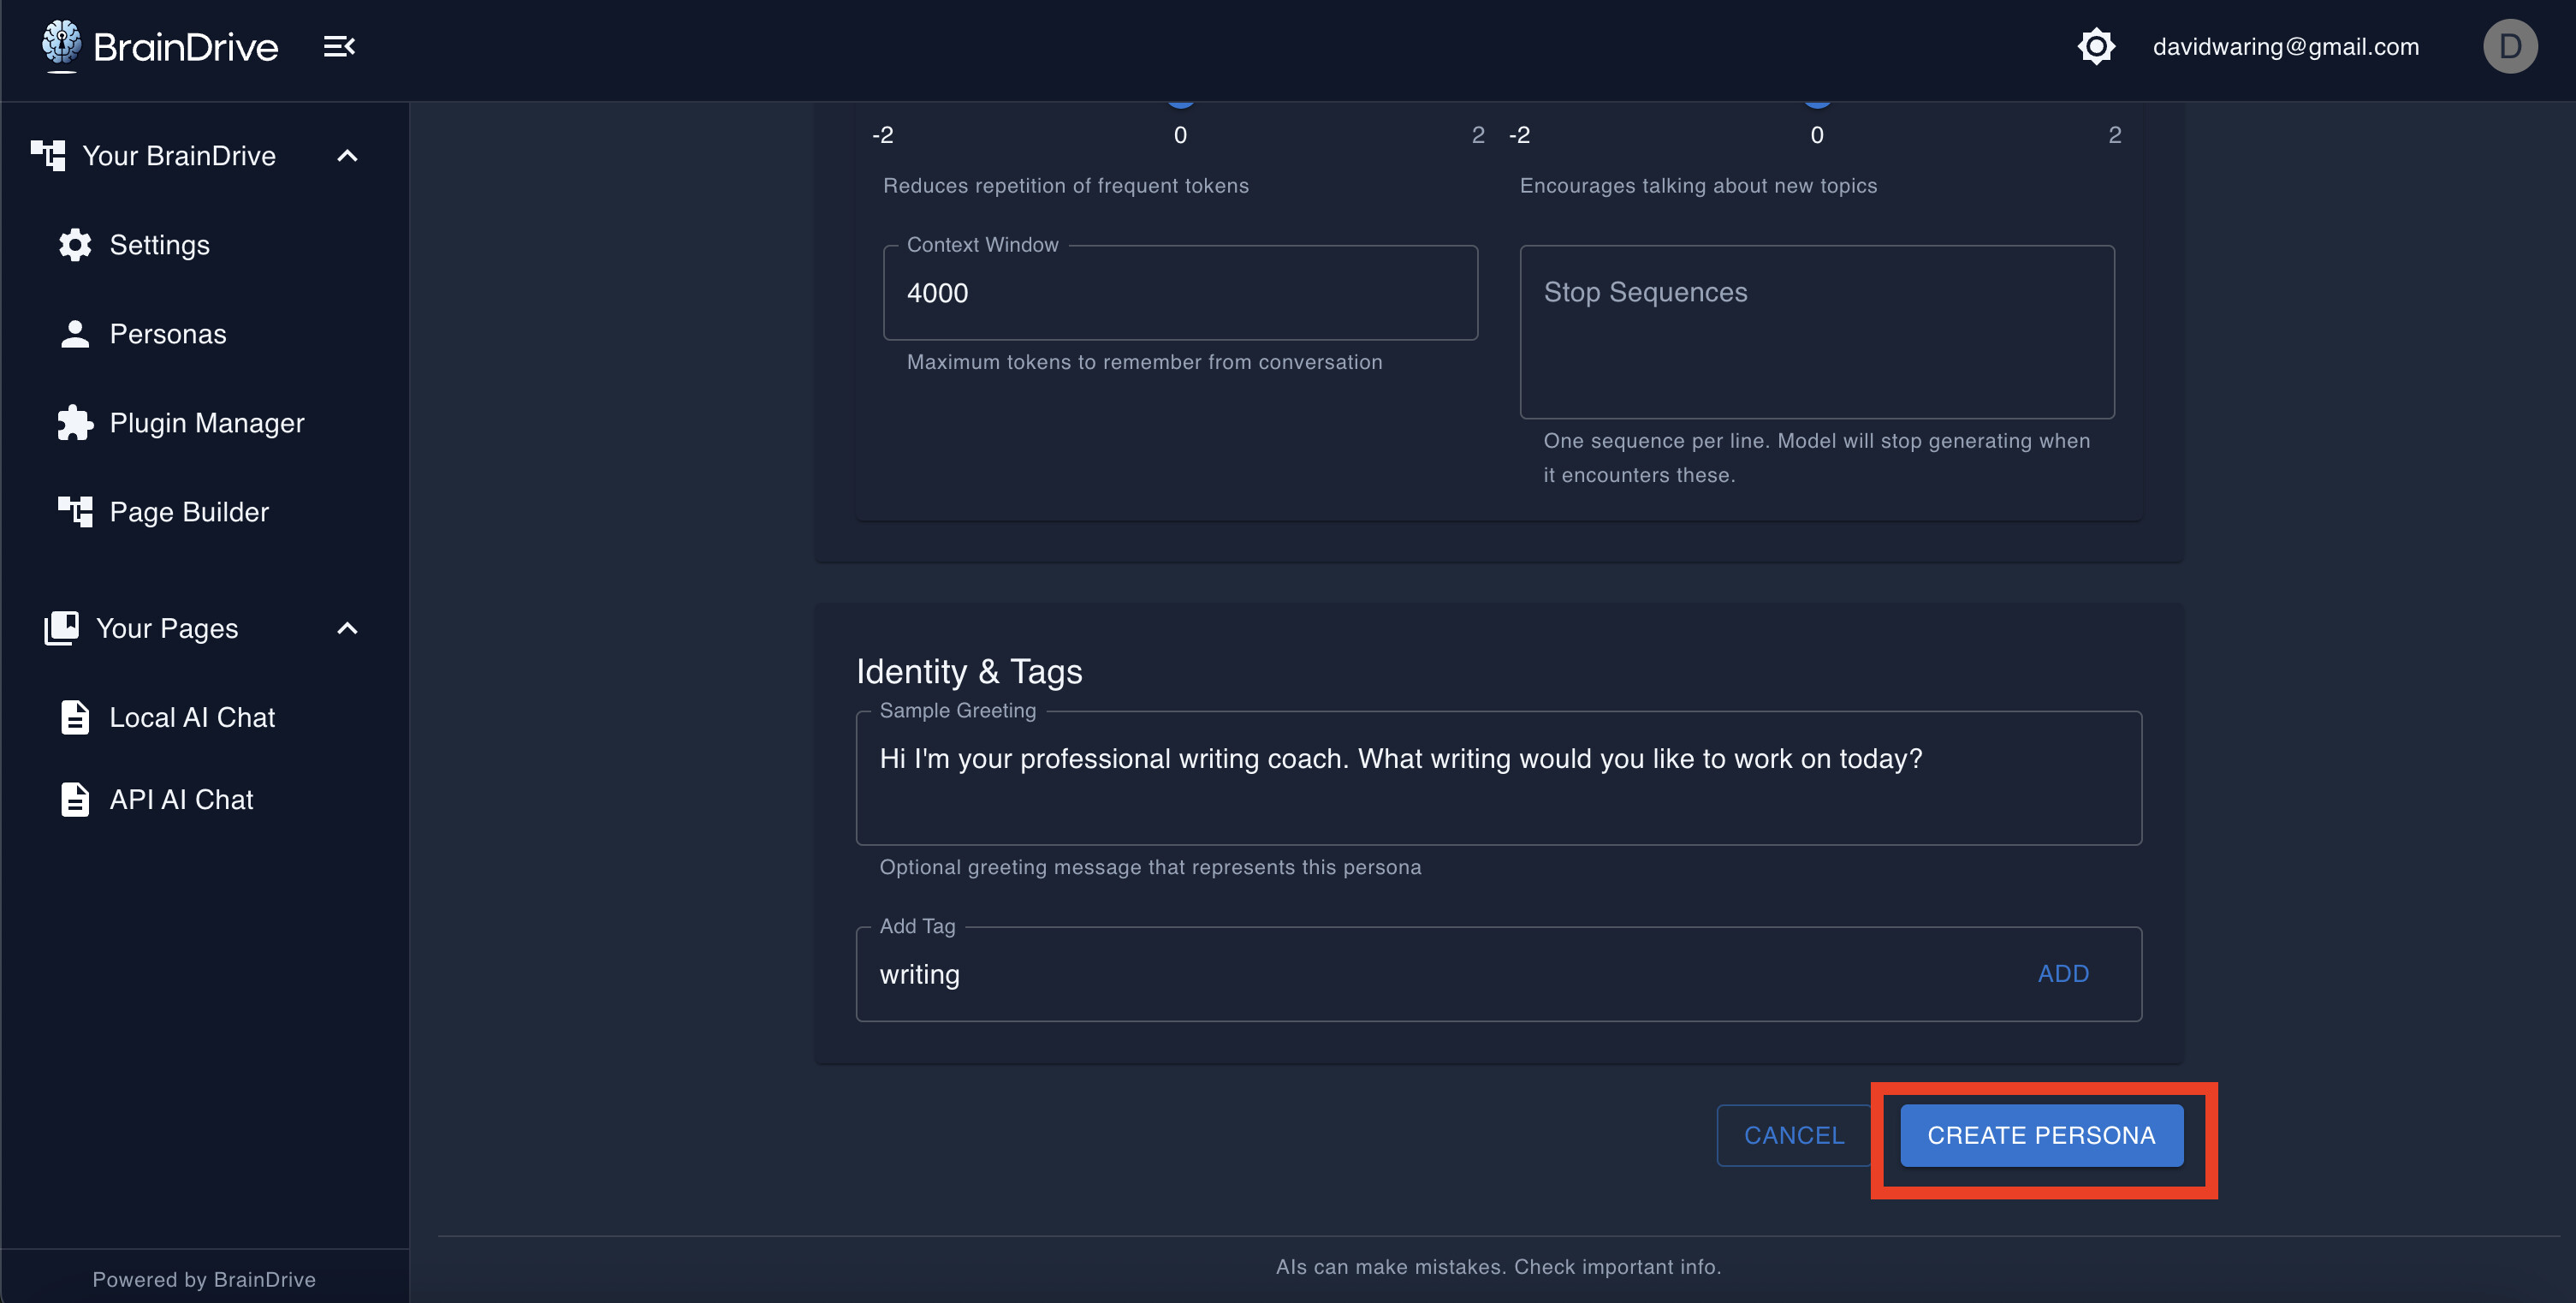
Your persona is now saved and ready to use!
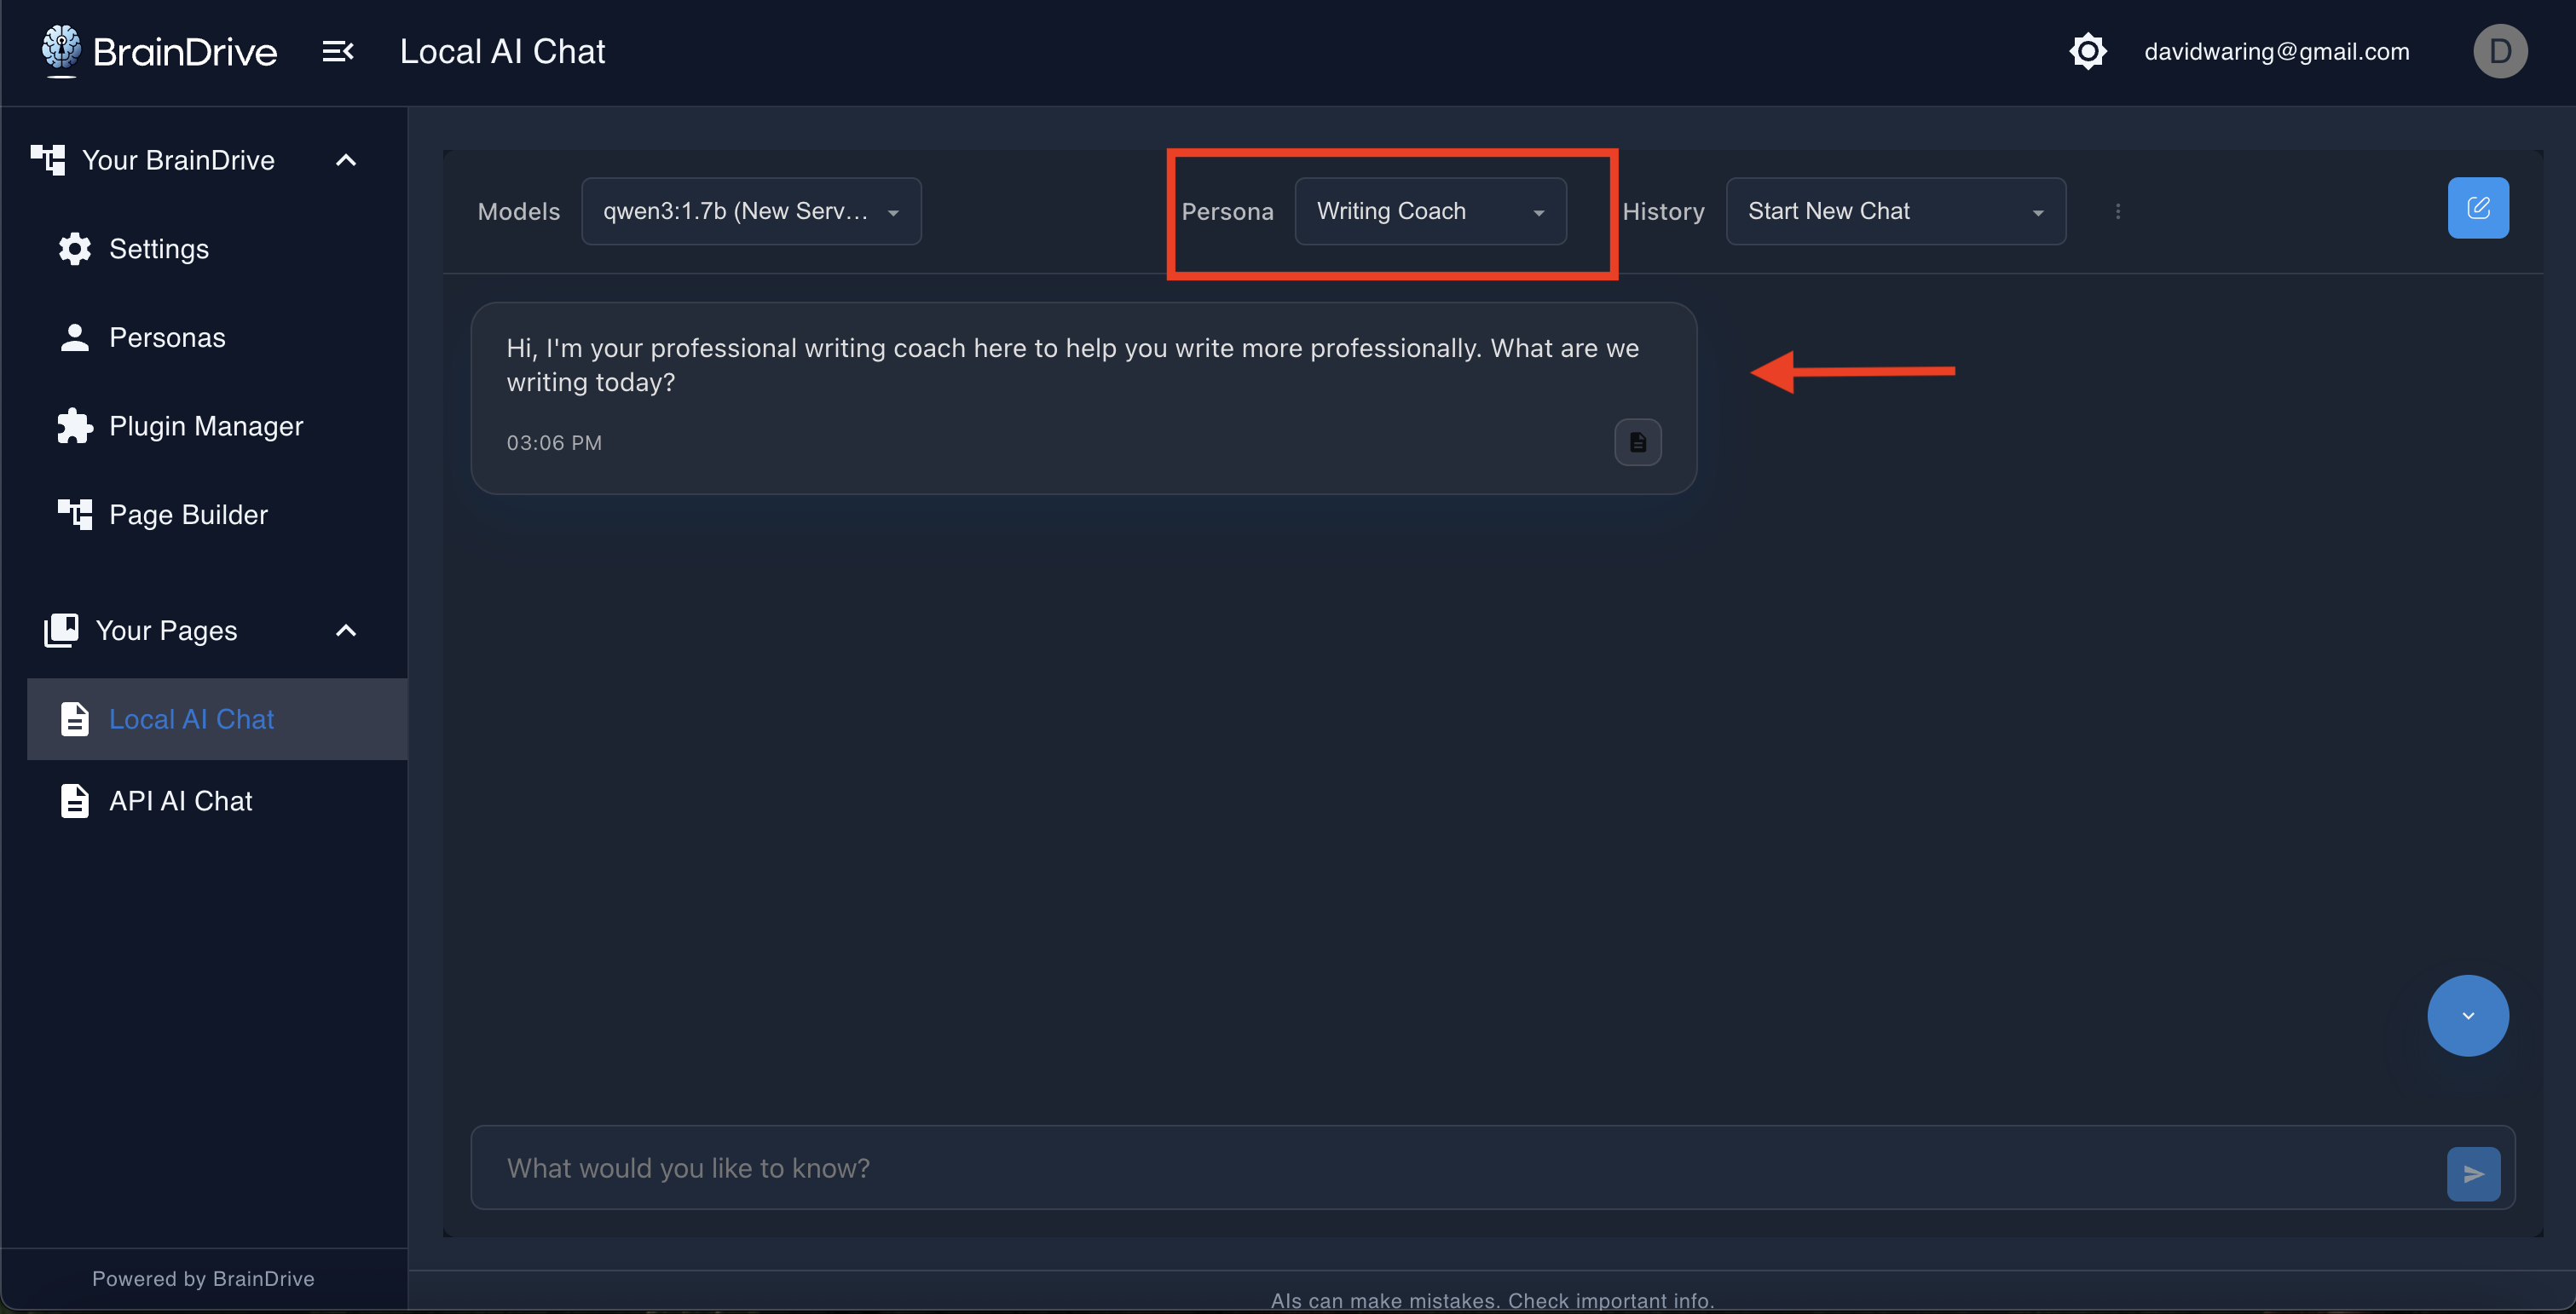
Step 6: Use Your Persona
Go to any chat page, look for the Persona dropdown at the top, select “Writing Coach”, and start chatting.
The AI will now follow your persona’s instructions.
Try it out: Ask your Writing Coach to review a paragraph you’ve written. Notice how it responds according to the instructions you gave it.
Advanced Tips
Iterating on Personas
Your first version won’t be perfect. That’s okay.
Use a persona for a while, then edit it based on what works and what doesn’t:
- Is it too formal? Adjust the system prompt to be more casual
- Is it not creative enough? Increase the temperature
- Is it repeating itself? Add a small frequency penalty
- Does it go off-topic? Lower the presence penalty
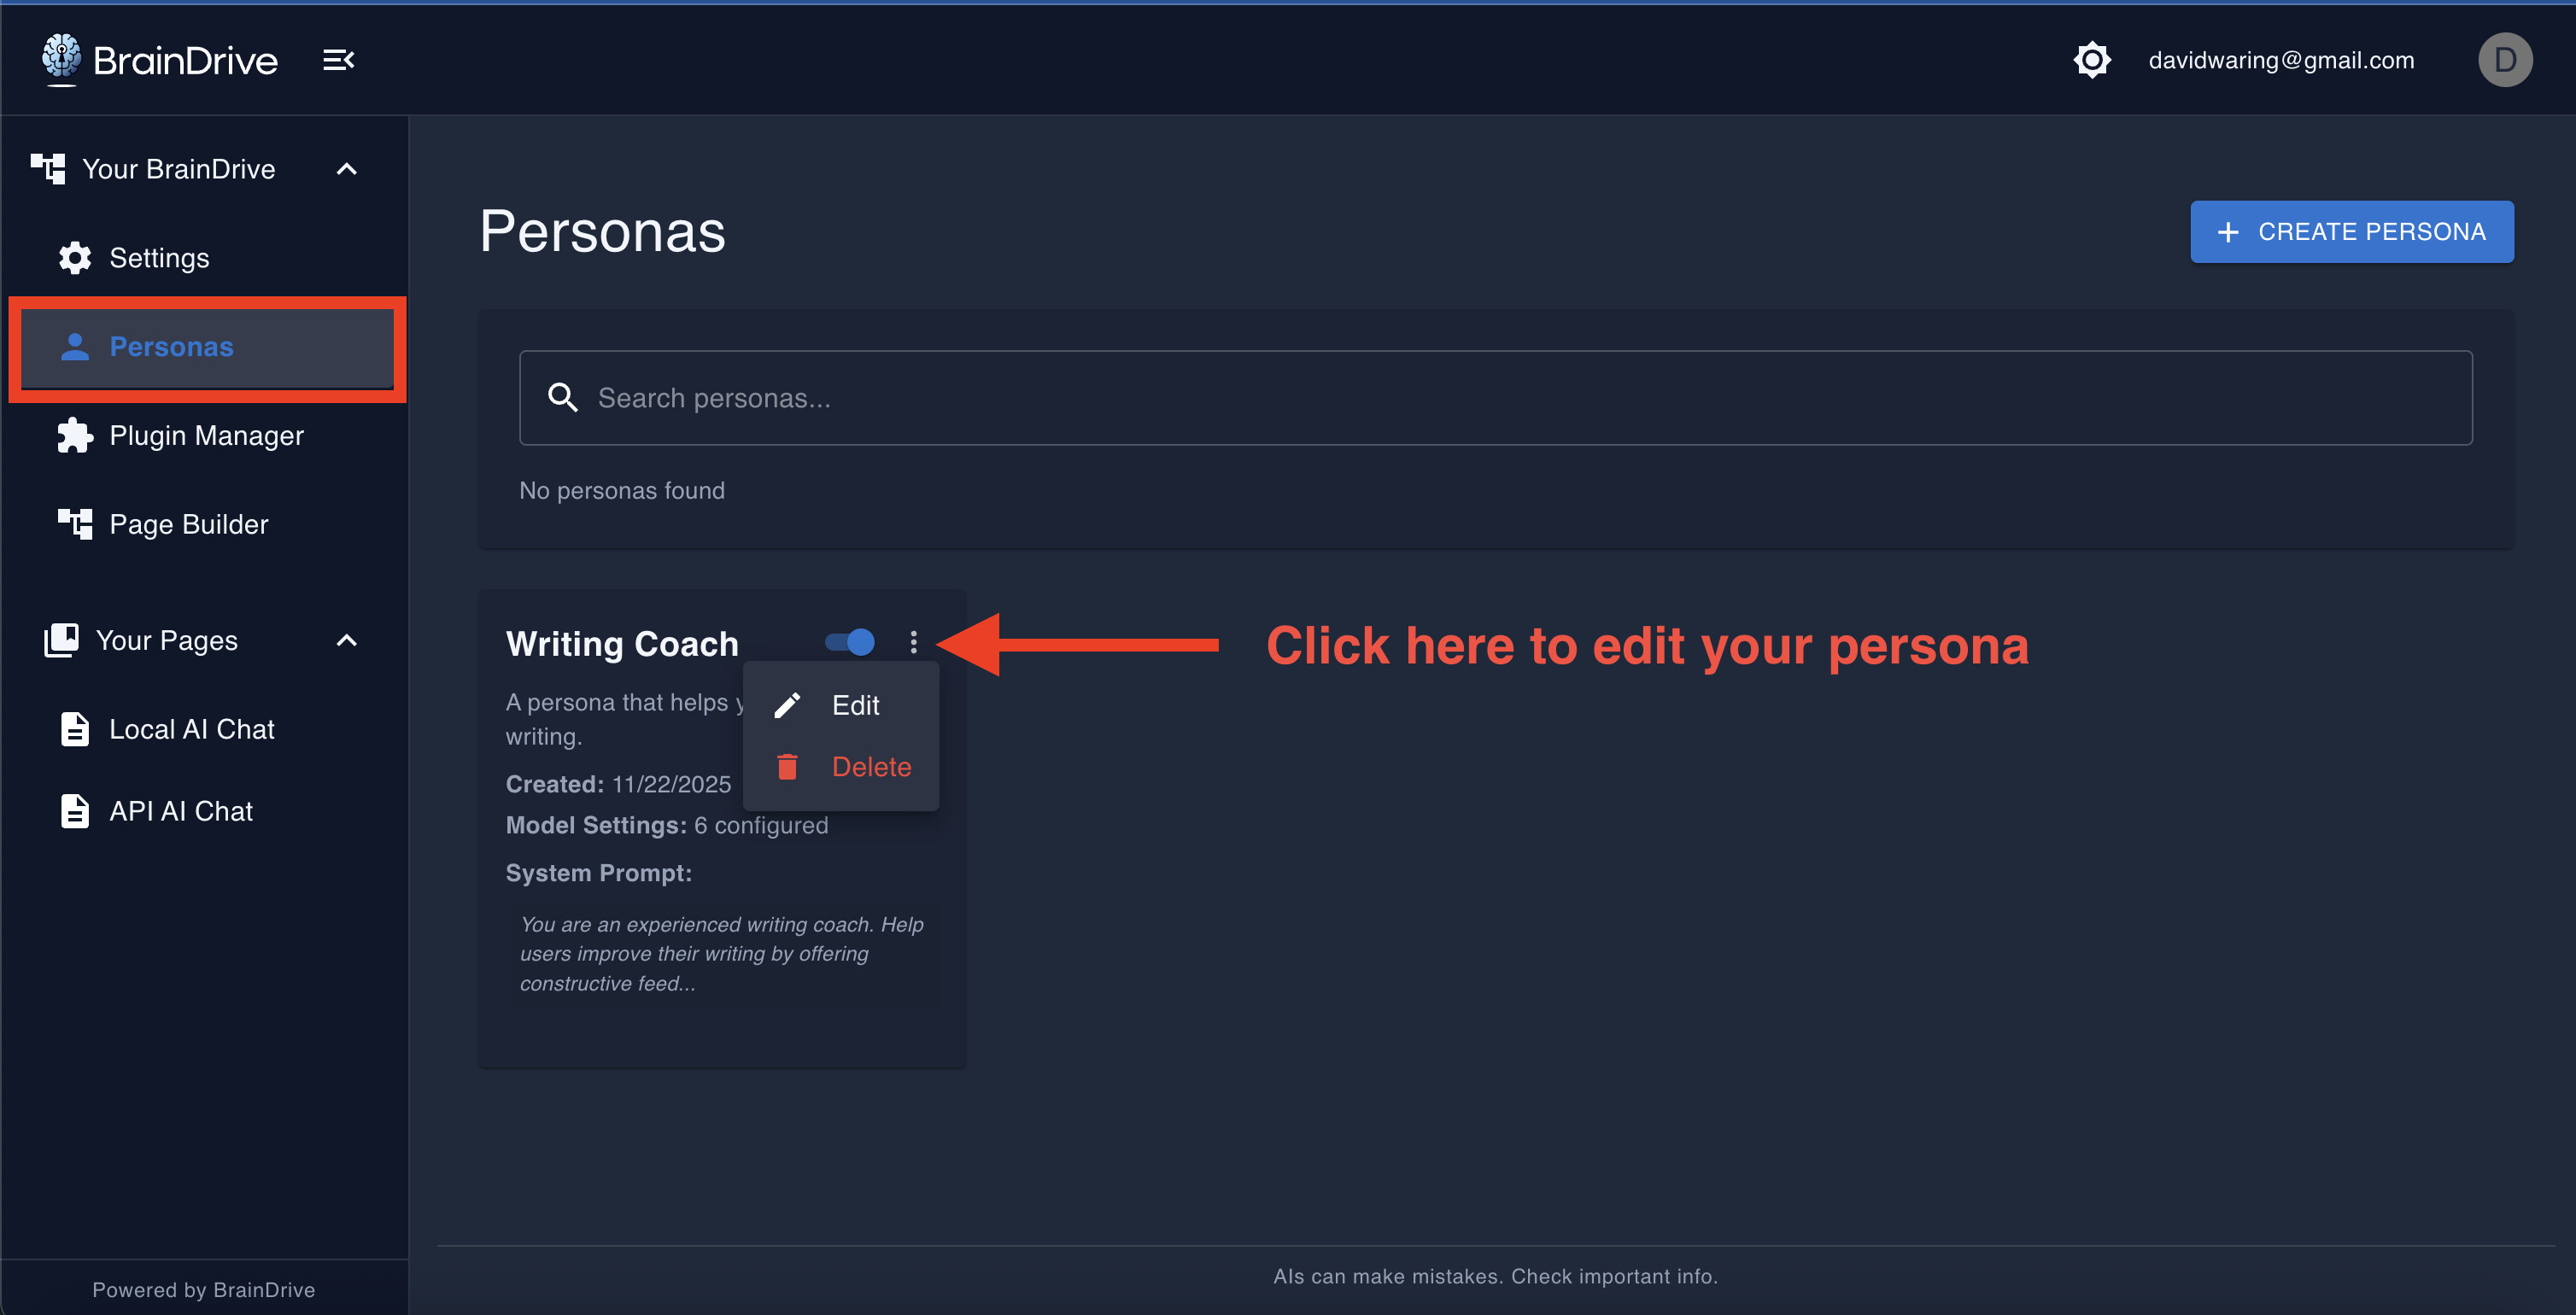
Click “Edit” next to any persona in Settings → Personas to refine it.
Sharing Personas
In future BrainDrive updates, you’ll be able to export and share personas with others. For now, you can share the system prompt and settings with friends and/or in the BrainDrive Community manually so they can recreate your persona.
Think about what you’ve now accomplished
You learned why AI ownership matters - why freedom, privacy, and control aren’t just features, but fundamental rights.
You understood the five components of AI system ownership.
Then you actually did it. You installed your own AI system. You set up local models running privately on your machine. You connected to the world’s most powerful AI models on your terms. You created custom pages and personas tailored to your needs.
And here’s what that means:
You now own and control your AI system. Not Big Tech. You.
All five components. All under your control.
And this is just the beginning. In the next lesson we’ll cover BrainDrive’s Vision for the future of user-owned AI and your BrainDrive.
I’ll see you in the next lesson.