Intro to BrainDrive Plugin Development!

Hi Folks,

Today is an exciting day as we are ready for developers to start building plugins on top of the BrainDrive Platform. Plugins that are owned and controlled not by a Big Tech platform, but by you.

Below is an intro to what developers need to know in order to get started building plugins from BrainDrive’s co-creator and lead dev Dave Jones, followed by an AI powered overview of the information covered in the video.

Questions, comments, concerns and ideas welcome as always. Just hit the reply button.

Thanks!
Dave W.

What’s in the video;

:brain: BrainDrive Tech Stack at a Glance

  • Frontend: Built with React and bundled using Vite, enabling rapid feedback with live reloading during development.
  • Backend: Powered by Python FastAPI, chosen for its simplicity and speed—ideal for building extensible APIs.
  • Plugin Bundling: Each plugin is bundled independently using Webpack Module Federation, making them decoupled and interchangeable.

This architecture balances fast iteration for developers with a flexible, plugin-driven system structure .


:wrench: What Is a Plugin in BrainDrive?

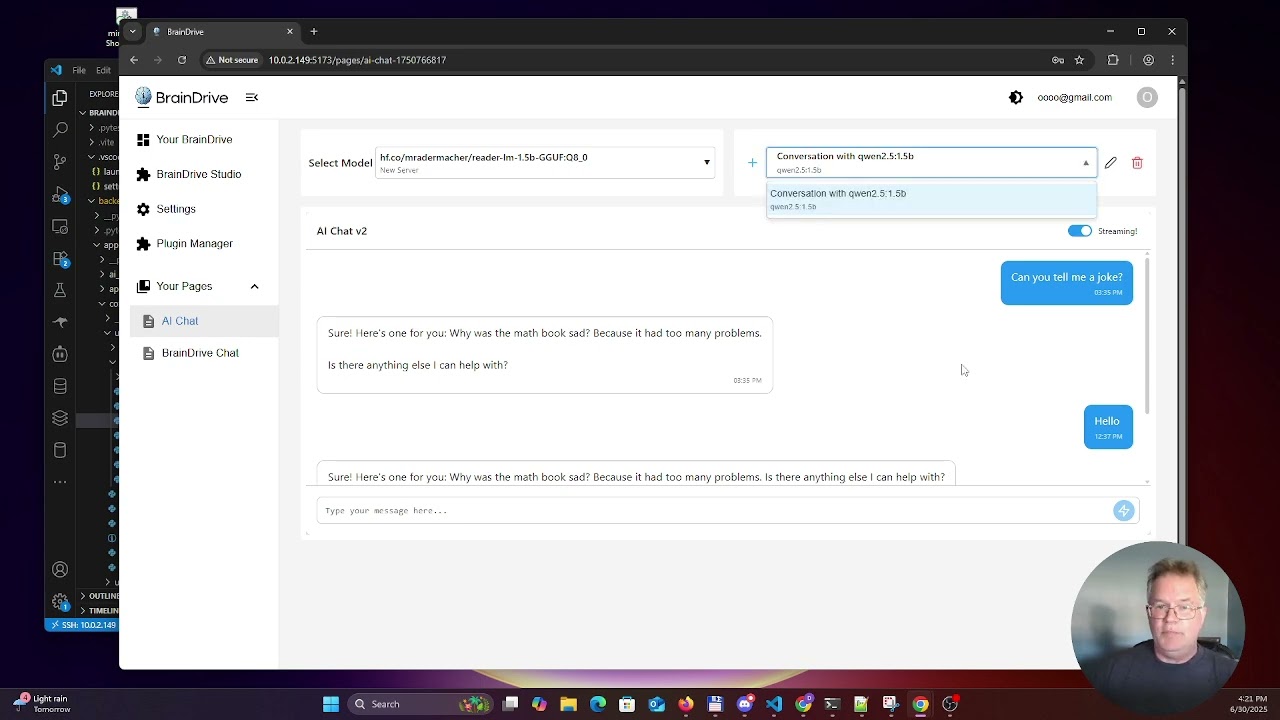
In BrainDrive, a plugin is more than an extension—it’s the backbone of the interface. Every interactive component on a page is powered by a plugin. Some pages might have a single plugin handling multiple operations, while others (like the AI Chat page) host multiple independent plugins working together.

Key features:

  • Modular by design: Each plugin is isolated and doesn’t directly depend on the BrainDrive core.
  • Bridge Communication: Plugins send and receive events using a communication layer called the Event Bridge. This enables real-time interaction across decoupled modules.
  • Settings as Plugins: Even configuration settings are handled as plugins. You define their type via the manifest, and they automatically integrate into the system’s settings infrastructure.

:package: Installing and Testing Plugins

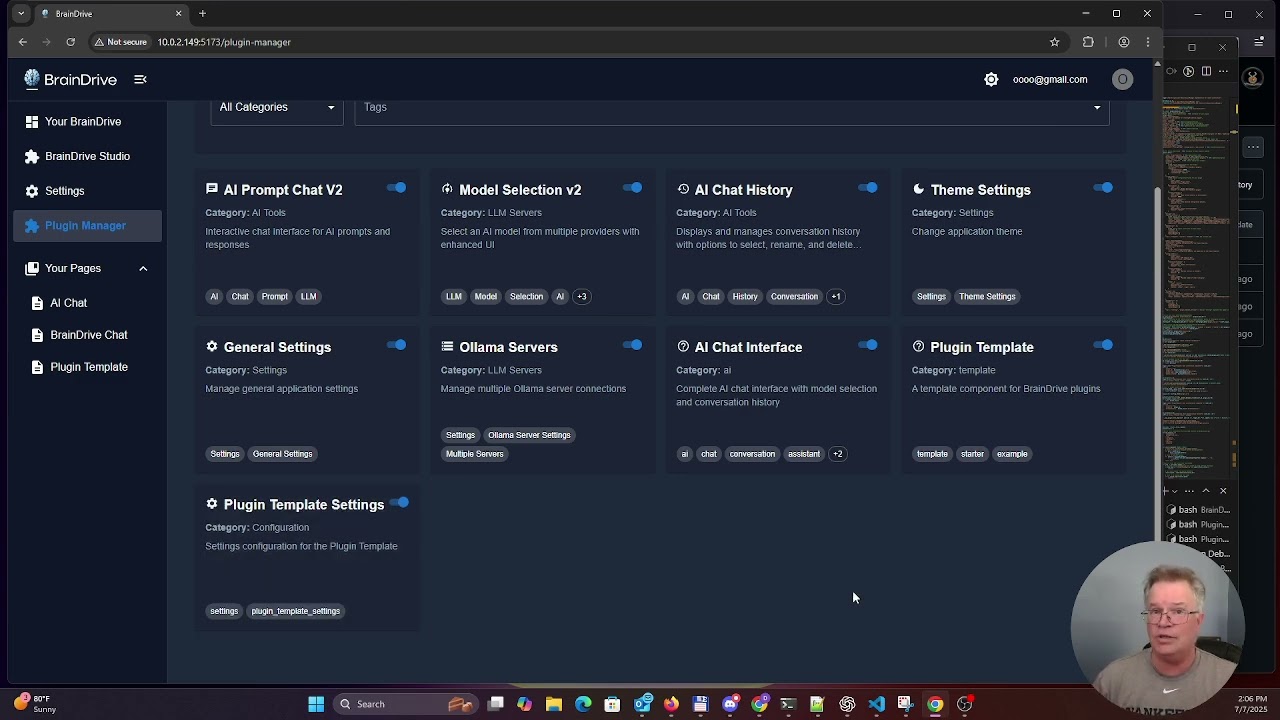
Plugins are installed through the Plugin Manager, which functions similarly to WordPress:

  • Installs from GitHub.
  • Automatically builds and places the plugin in the correct location.
  • Includes tools to validate installs and debug build or manifest issues.

This plugin-first approach gives developers and entrepreneurs the power to create tools, services, and workflows entirely on their terms—no gatekeepers required Brand Guidelines - Brai….


:speech_balloon: What’s Next?

This was just the kickoff. In future videos, Dave will go deeper into:

  • Plugin settings and manifest configuration
  • How to use and extend bridges
  • Debugging and developer tools
  • Building monetizable plugins for the BrainDrive Marketplace

Whether you’re a developer who wants to tinker and build, or an entrepreneur looking to scale services with plugins, this series will help you get started with confidence.
Hi Folks,

@DJJones just released a new github and video overview of the BrainDrive plugin template.

Here’s the link to the github: GitHub - BrainDriveAI/PluginTemplate: Plugin Template for BrainDrive

And here’s a video walkthrough from Dave showing you to use it, followed by an AI Powered summary of the video:

What’s in the video:

:gear: What You’re Getting

The plugin template gives you everything you need—and nothing you don’t:

  • :brick: Minimal React structure for fast onboarding

  • :repeat: Lifecycle manager scripts to handle install/update/delete flows

  • :jigsaw: Modules for plugin logic and settings (clearly separated)

  • :memo: “TODOs” and config notes for quick customization

  • :electric_plug: Example services already wired up (just cut what you don’t need)

It’s intentionally simple so you don’t waste time ripping stuff out.


:arrows_counterclockwise: The Fast Dev Loop

One of the biggest pain points in plugin dev is waiting. We’ve solved that.

Here’s how:

  1. Install your plugin once via the Plugin Manager.

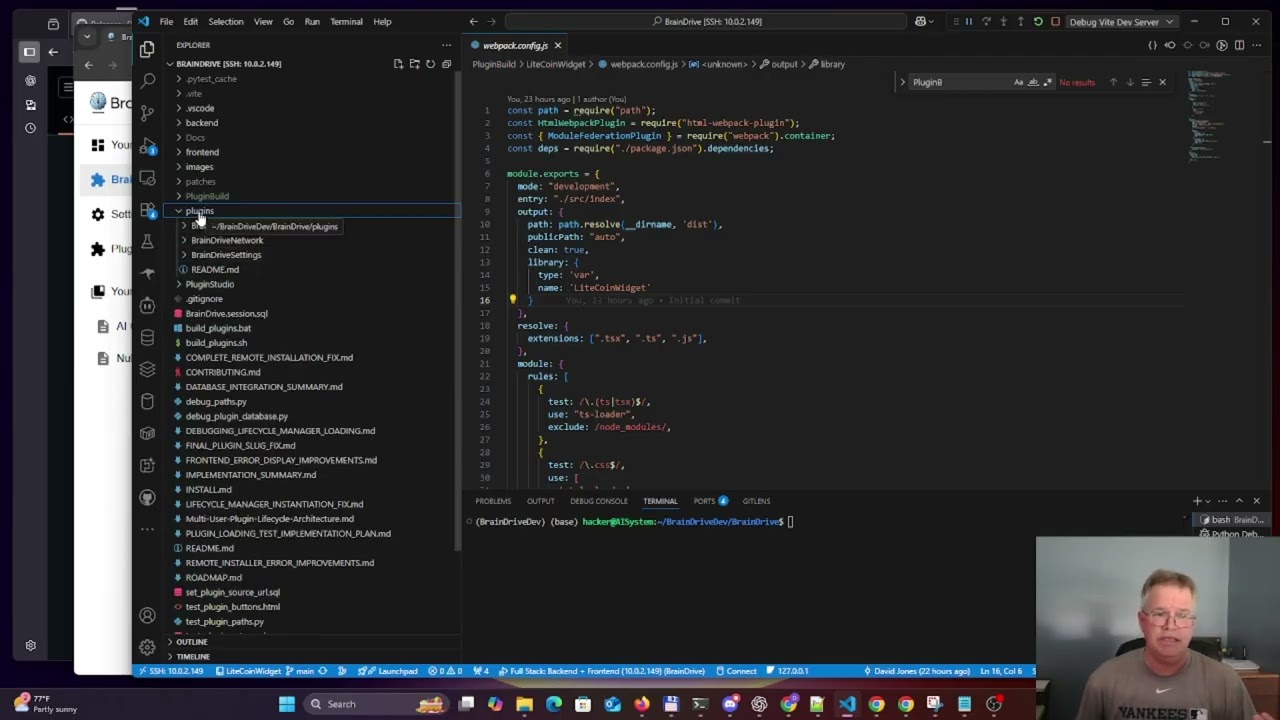
  2. Change the Webpack dist output to write directly into your local BrainDrive install.

  3. Refresh your browser (with cache disabled) to see changes live.

:white_check_mark: No packaging.
:white_check_mark: No uploading.
:white_check_mark: No reinstalling.
Just code → build → refresh.

David shows it in action in the video—including how to fix mistakes and iterate fast.


:toolbox: Use This If You…

  • Want to ship fast without bloated boilerplates

  • Are building AI tools, widgets, or system extensions for BrainDrive

  • Prefer React and want to keep things modular and clean

  • Care about self-hosting, ownership, and building outside Big Tech

This template gives you a head start without locking you in. Just grab it, rename it, and make it yours.


:round_pushpin:Where to Find It

The official BrainDrive Plugin Template is now live in the BrainDriveAI GitHub repo:
:point_right:GitHub - BrainDriveAI/PluginTemplate: Plugin Template for BrainDrive

Includes:

  • Lifecycle scripts

  • Settings module scaffold

  • Plugin module scaffold

  • Reference folder with inline docs

And if you hit a snag? Drop your questions below and we’ll respond and make new tutorials based on what you need.

Let’s build the future of personal AI together.

Hi Folks,

Below is an in depth overview of BrainDrive plugin development for those that want a deeper dive, followed by a shorter video talking about the differences between settings and plugins and how they work together in BrainDrive.

I’ve also included an AI powered overview below the videos.

If you have any questions or hit any snags just hit the reply button and we’re happy to help out.

BrainDrive Plugin Development Deep Dive:

BrainDrive Settings Overview:

AI powered text overview of the videos:

Welcome, Builder!
This guide summarizes the walkthrough by BrainDrive co-creator Dave Jones and will help you start building plugins in the BrainDrive ecosystem. Whether you’re an open-source tinkerer, indie AI entrepreneur, or just curious, you’re in the right place.

:round_pushpin: Repo: github.com/BrainDriveAI/BrainDrive


:dart: What You’re Building

A BrainDrive Plugin is a modular extension that adds new features to a personal AI system—without altering core code. This aligns with our mission:

Make it easy to build, control, and benefit from your own AI system.:contentReference[oaicite:0]{index=0}


:brick: Plugin Types & Architecture

:repeat: Two Plugin Types

  1. Initializer Plugins

    • Pre-installed on first login/register
    • Managed by internal scripts, not visible through the plugin manager
  2. Lifecycle Plugins

    • Installed by users via GitHub release URLs
    • Managed using the Lifecycle Manager

We’ll eventually transition fully to Lifecycle-based installs for modularity and control.


:gear: Installation Flow (Lifecycle Plugins)

  1. Build a release archive (e.g. v1.0.0)
  2. Upload to GitHub
  3. Paste the repo link into the install input
  4. BrainDrive will:
    • Fetch release
    • Copy files into the shared plugin directory
    • Validate the manifest & bundle type
    • Attempt to instantiate the plugin (via Module Federation)

:white_check_mark: If it fails, the system will tell you why. No more black-box debugging!


:bulb: Dev Workflow Tips

:white_check_mark: Step 1: Get it Installed

Your first milestone is passing the install & instantiation check. Once that’s green:

:zap: Step 2: Speed Up Development

To avoid reinstalling on every change:

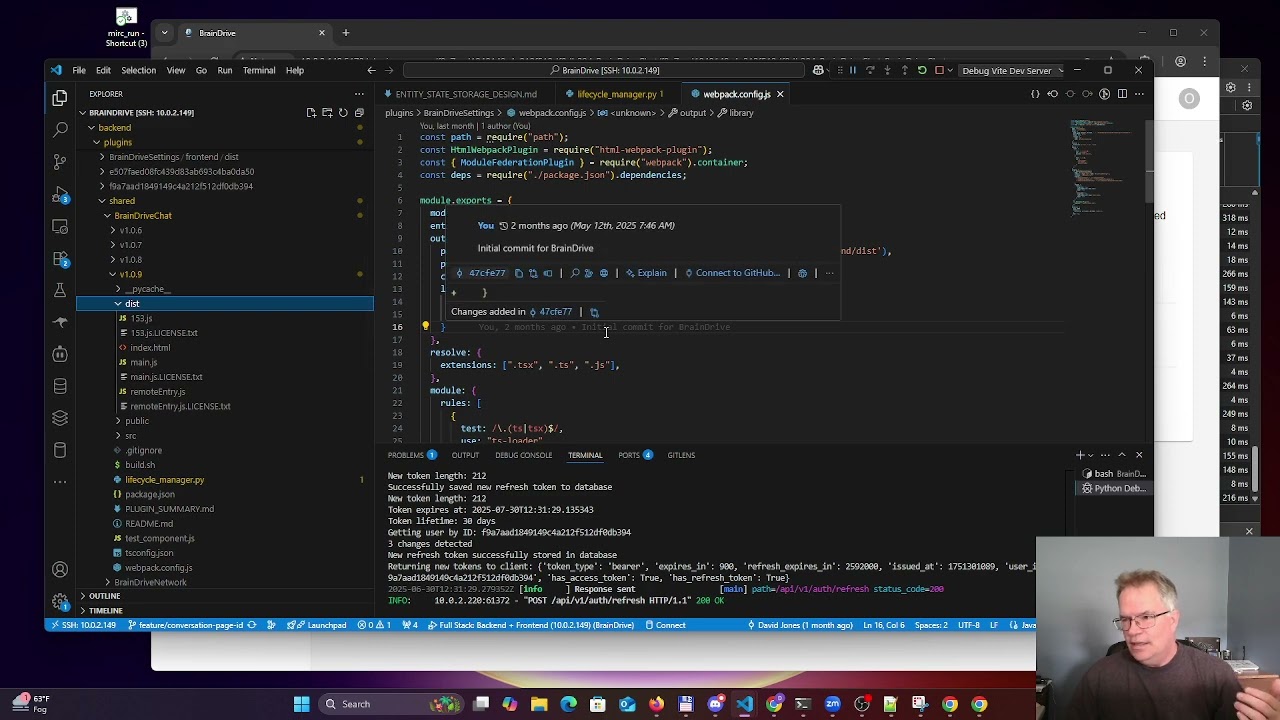
  • In webpack.config.js, update output path to point to shared/PLUGIN_NAME/dist
  • Use F12 → Empty Cache & Hard Reload to see changes
  • No 10–15 min re-installs!

:hammer_and_wrench: Dave uses a custom build-release script to zip plugin folders for GitHub uploads.


:robot: Using AI to Scaffold Your Plugin

Dave uses AI (ChatGPT or Claude) to:

  • Reference a working plugin directory on GitHub
  • Prompt it with what services (API/Event/Settings bridges) the plugin should use
  • Style via Tailwind CSS without needing the actual package
  • Generate a working boilerplate in seconds

The AI sometimes gets the Lifecycle Manager port wrong (usually 8000), but the data structure is still good—just copy and paste the right bits.


:open_file_folder: Code Locations to Know

  • plugins/PLUGIN_NAME/ → Frontend plugin files
  • apps/api/plugins/PLUGIN_NAME/ → Backend endpoints
  • apps/api/providers/ → Model-specific API logic (e.g. Ollama)
  • plugins/shared/ → Installed plugin builds by version

Plugins are versioned and shared across users to minimize storage use.


:arrows_counterclockwise: Lifecycle Manager Quirk

  • AI-generated lifecycle managers often default to :8000.
  • Grab the correct data and paste it into the working lifecycle template.
  • Works 100% of the time (tested with 7+ plugins).

:technologist: Tips

  • Check out Dave’s Litecoin plugin as a reference.
  • Use the forums to ask questions and post your plugin-in-progress.
  • Remember: Plugins are how you make BrainDrive your own.

:gear: Part 2: Settings Plugins

In this second walkthrough, BrainDrive co-creator Dave Jones dives deeper into how to create plugins that show up in the Settings panel rather than a page in BrainDrive Studio.


:compass: Quick Recap

In the first video we covered:

  • What BrainDrive plugins are

  • How to install them using the Lifecycle Manager

  • How to speed up development using a webpack trick

Now, we’re taking it one step further—by learning how to categorize plugins as settings, so they show up where users manage their system configuration.


:jigsaw: What Is a Settings Plugin?

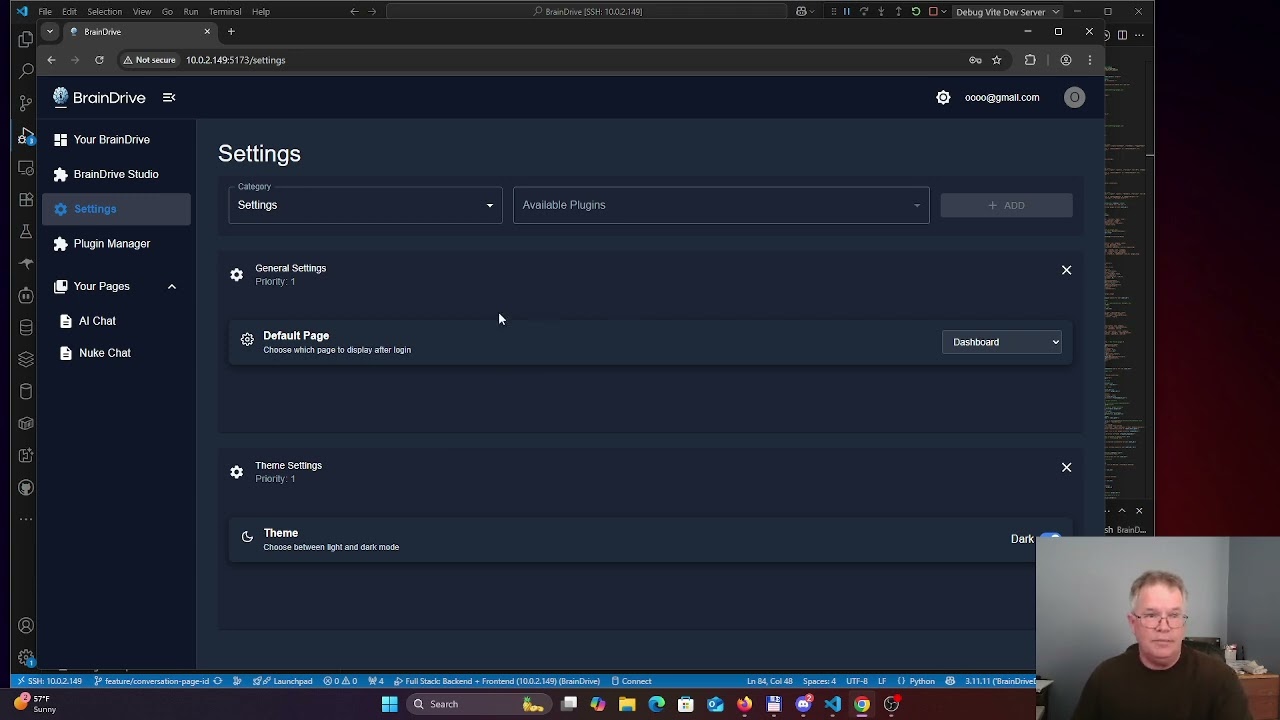
A Settings Plugin is a special type of plugin that doesn’t render on a chat page, but instead appears in the Settings panel of BrainDrive Studio.

This is useful for:

  • LLM provider configurations

  • API key entry

  • General system preferences

  • Custom user/system-level settings


:hammer_and_wrench: How Settings Plugins Work

When you visit Settings → Plugins, you’ll see available settings-type plugins that can be toggled on/off.

If you remove one via the :heavy_multiplication_x: icon, it disappears from the panel—but the backend data is not erased. This ensures persistence even if the UI is reset.

:lock: A more advanced data-clearing system is coming soon. For now, the data remains unless manually wiped.


:file_folder: How to Make a Plugin Appear in Settings

It all comes down to setting the category of the plugin to "settings".

:receipt: Plugin Manifest Example:

{

“name”: “LLMProvider”,

“version”: “1.0.0”,

“category”: “settings”

}

:gear: What Happens:

  • Any plugin with “category”: “settings” won’t appear in the page plugin list

  • Instead, it will show up under Settings > Plugins

  • You can assign additional tags to group them (e.g. General, Theme, LLM Servers)

You can even have multiple plugins under the same tag, making it easy to group related functionality.


:camera_flash: Walkthrough Visual Summary

  • Visit Settings → Plugins

  • Remove or re-add plugins via the UI

  • Observe how the UI updates without affecting backend data

  • Ensure your plugin has “category”: “settings” in its manifest to appear here


:technologist: Developer Tips

  • Want the plugin to auto-load? Consider using the initializer method (some plugins like LLMProvider are auto-installed for system needs)

  • Still see your plugin missing? Double-check that category is spelled and set correctly

  • Need to test reloading? Just remove the plugin and re-add—it won’t erase backend config for now

Hi Folks,

In this video, the developer addresses common snags encountered when building plugins in BrainDrive.

What’s in the video:

1. Plugin Installation and File Placement

  • Most developers are now using the newer install method via the Lifecycle Manager.

  • This installer places plugin files in:
    /shared/braindrive/chat/{plugin-name}/{version}/

  • When developing, start by ensuring the installer correctly places files in the expected backend location.

  • Once confirmed, developers can leave that setup as-is and begin plugin feature development.

2. Output Directory for Webpack Builds

  • The developer demonstrates how Webpack is configured to output build files directly into the backend plugin directory, not inside the frontend.

  • Example path:
    /backend/plugins/settings/
    This allows the backend to immediately serve the updated build without extra copying steps.

3. Version Isolation and Updates

  • The Lifecycle Manager installs plugins per version.

  • If you’re editing code in version 0.0009, the output will remain there unless you explicitly update via the versioning system.

  • To reflect changes, make sure the Webpack output.path points directly to the appropriate version directory.

4. Handling Changes in Plugin Type

  • If you’re changing your plugin’s role (e.g. adding settings UI or new services), you need to:

    • Reinstall via Lifecycle Manager, or

    • Manually update the backend database with new settings.

5. Cache Management in Development

  • Caching can cause the frontend to load stale plugin code.

  • Recommended temporary fix:

    • Open DevTools (F12) in your browser.

    • Go to the Network tab and disable cache.

    • After building your plugin, press F5 to force reload.

  • Occasionally, you may see a mismatch error in the UI. To fix:

    • Click into another menu and return—this forces a frontend refresh.